![Light Priority - Photography by Rory Prior]](https://lightpriority.net/wp-content/uploads/2020/05/fulllogo.png)
When last I wrote on these hallowed pixels (that’s been awhile, my apologies), I was talking about scanning medium format film with an Epson V600. A little over a year ago now I decided that I quite liked this whole “scan a bunch of images in a batch” workflow and decided to look for something that would also handle 35mm in reasonable quality. Well those options are incredibly limited, so I ended up dumping a bunch of cash on an Epson V850, Epson’s high end flatbed. This boasts increased resolution and a large negative scanning area capable of handling up to 3 strips of 35mm film and the ability to even do up to 8×10 if ever the madness truly takes me.
You have to accept with a flatbed scanner you’re never going to get the full resolution of the film and the smaller the negative size the more this impacts. For me the bare minimum acceptable resolution for making up to A3 size prints and looking nice on a high DPI monitor is about 12 megapixels, this needs a resolution of approaching 3000 DPI to achieve with a 35mm frame. That resolution is very much the upper end of what you can expect with a high end flatbed, but with some careful post processing you can get close enough.
Hardware
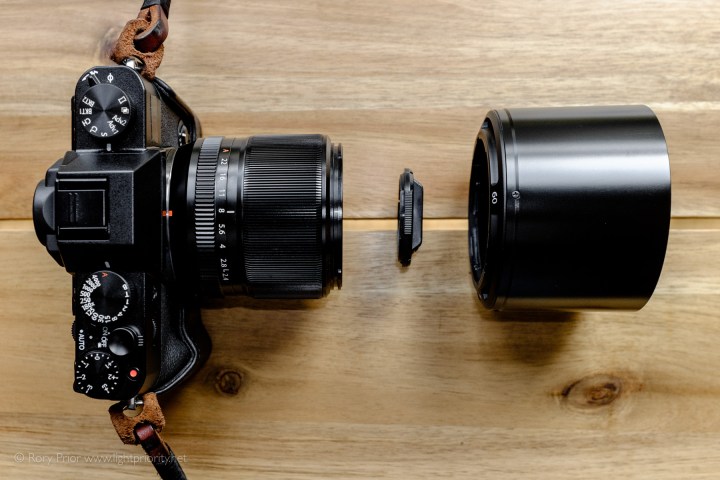
Compared to the V600, the V850 is an absolute unit with a very large boxy design. A neat little translucent strip in the lid houses a blue LED that shows the progress of the transparency unit’s light across the negative which is rather a fun detail. The film holders are slightly more substantial than the 600’s and all have ANR (Anti-Newton Ring) glass inserts to help hold the film flat while avoiding those pesky newton rings that can occur when the film isn’t perfectly flat and reflections cause interference patterns. The film holders all have height adjustment sliders to fine tune the focus. These make a subtle change to the sharpness of your scans, slightly improving things when fine tuned. I find it’s easy for the sliders to get knocked out of position though, especially on the 35mm holder which has a lot of them, so attention needs to paid that none have drifted when swapping negatives. The v850 comes with a full duplicate set of negative holders so you can streamline your workflow a bit and have up to 6 strips of 35mm or two strips of 120 mounted and ready to go at any one time. In practice I just use the one set and keep the others as spares should I ever manage to break or scratch any of the glass inserts.
The v850 is still using an antiquated USB 2 connection and the scan speed is pretty slow at working resolutions. How much of this slow speed is necessitated to get a good result and how much is caused by the data processing and transfer speed of the scanner I don’t know. Despite the slow speed however you can set up a batch scan job so you can at least get on with something else while the scanner whirs and grinds its way through your images.
Software
The scanner comes with SilverFast, which I kind of low key hate, and Epson Scan 2 which is kinda good but bad at batch scanning and inexplicably slow even on a powerful system. Epson Scan will be fine for most people and perhaps is less sluggish on Windows? The main issue I have with it is that it overcrops into the image area when auto detecting frames and it’s a tedious process to mark out 18 frames (three strips of six shots) when doing 35mm. At least it can capture 16 bits per channel TIFFs without costing you a fortune to upgrade like SilverFast. Epson Scan also is quite good at producing pleasing colours from negatives which is not to be sneezed at. Personally I use the scanner with VueScan in combination with Negative Lab Pro. VueScan is a confoundingly badly designed piece of software, but once it’s setup “right” it does get the job done. Setting up a batch scan is a painful process as with Epson Scan, but at least it remembers where the frames are so if you have to scan a bunch of 35mm or 120 it’s not too bad, just don’t alternate between formats more than you have to.
Again how any of this scanner software, most of which has been around for getting on 20 years now, still can’t reliably detect frames or even have profiles for the few scanners still on the market that could at least ball park where the negatives are is baffling. But in the cursed world of film digitisation you just have to learn to live with all this bizarreness and accept it will never get better. Just remember DSLR scanning is also a massive pain in the arse too.
Results
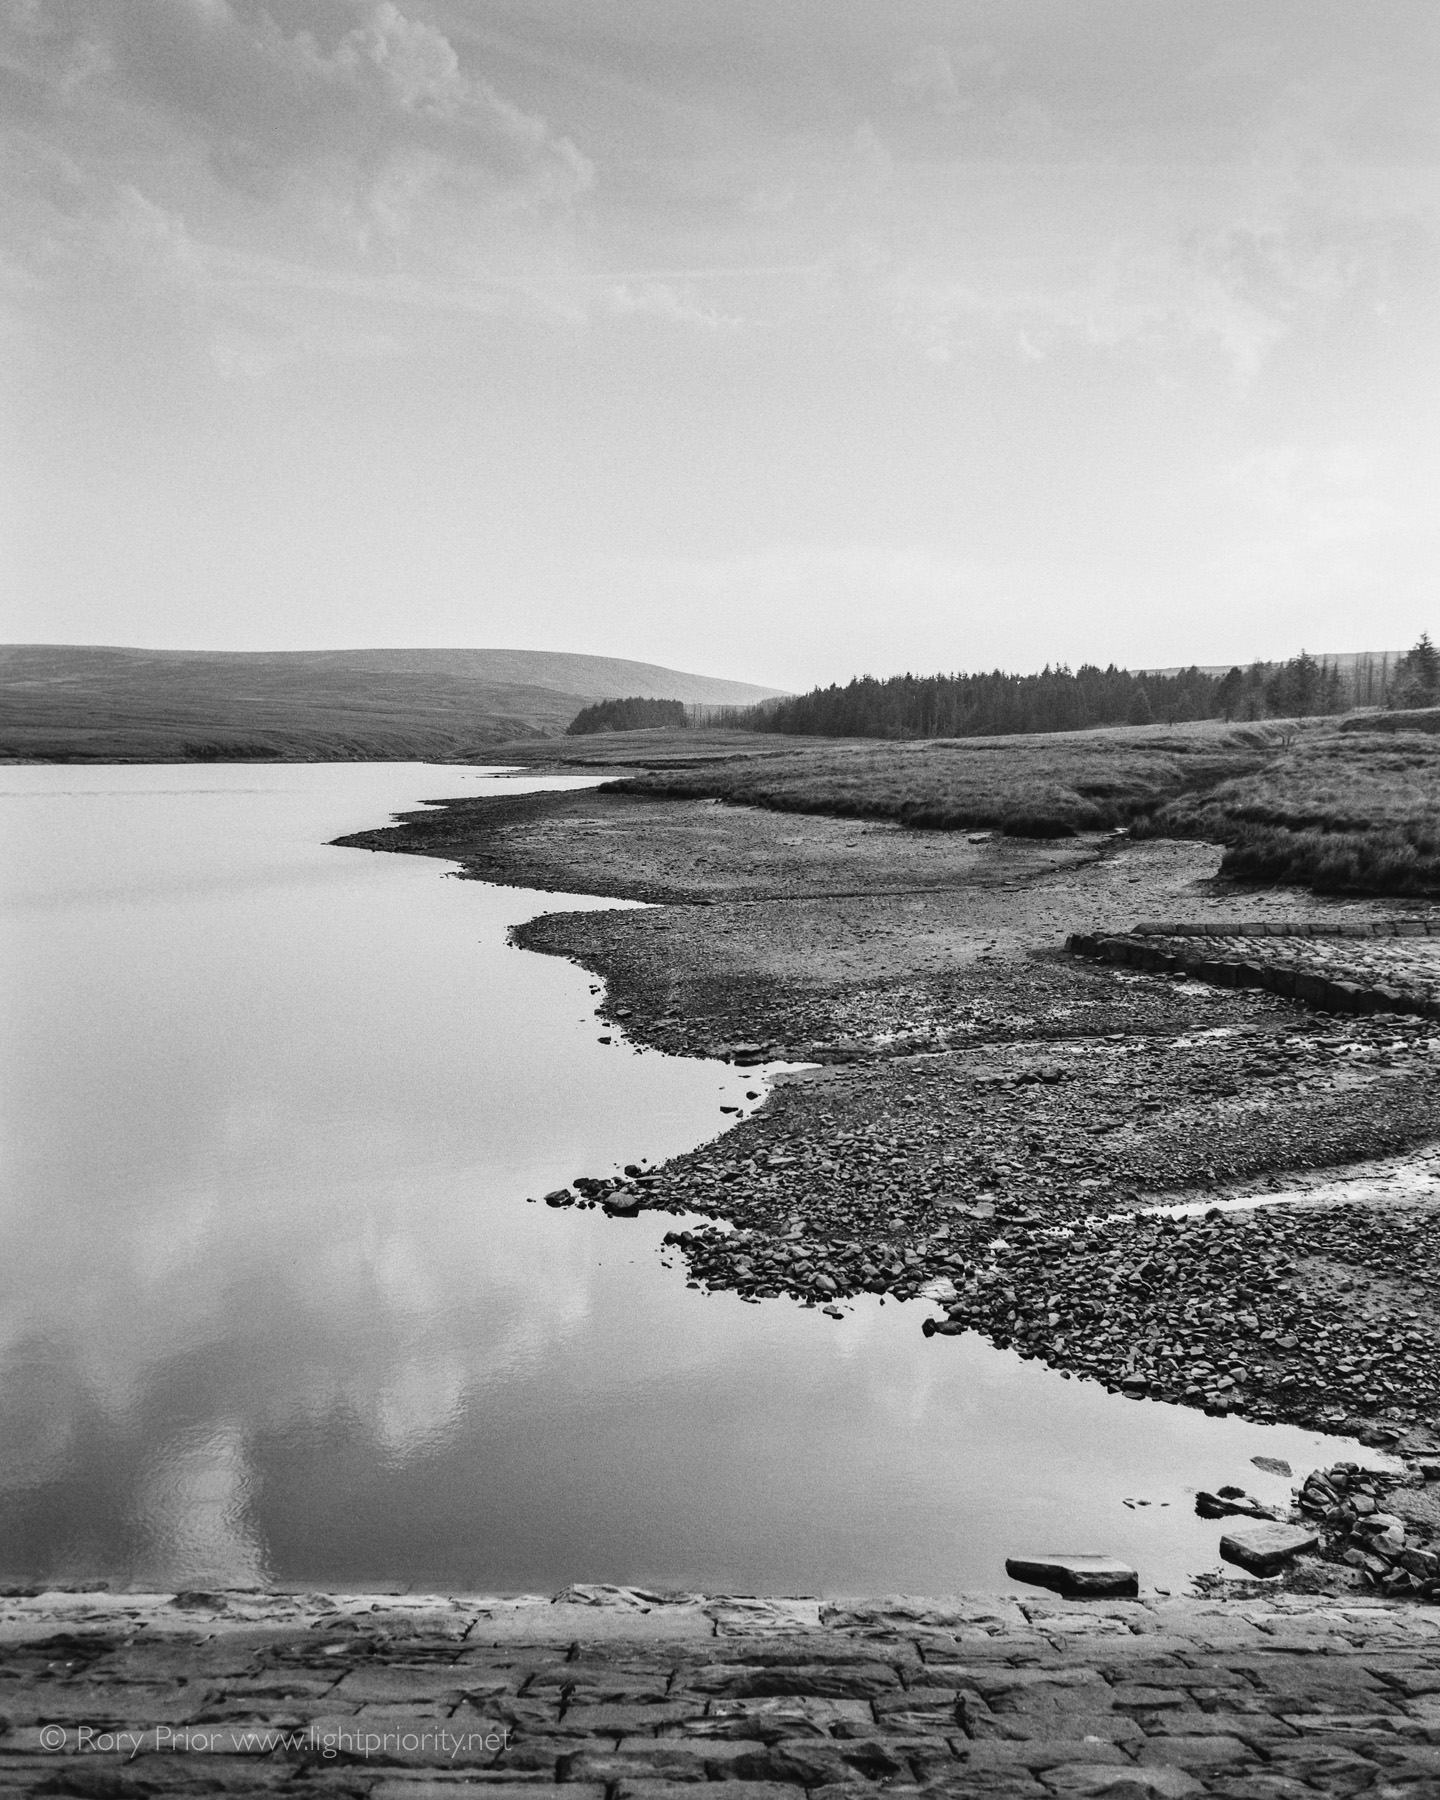
Most reviewers who have spent time with resolution test charts, fluid mounting and so on have concluded the Epson pro scanners can achieve around 2400 DPI in terms of real resolution. It’s not amazing, but it’s just enough for 35mm and plenty for medium format or larger. Allegedly there are minor optical differences between the V800 and V850, but I suspect these were dreamed up in Epson’s marketing department as I’ve never seen any evidence of one producing better results than the other. The V850 does produce markedly better results than the V600 though, night and day with 35mm and still noticeably better with medium format. I scan at 3200 DPI and downsample in Photoshop, typically to around 26 megapixels for 6×4.5, 36 megapixels for 6×6 and about 12 megapixels for 35mm. I find Photoshop’s smart sharpen filter tends to provide better results than simply using an edge detect sharpen in either the scanner software or Photoshop. As I mentioned above, I use Negative Lab Pro to handle the colour conversion, so VueScan is relegated to simply providing a decent uninverted tiff as its colour correction is cumbersome and unintuitive to use
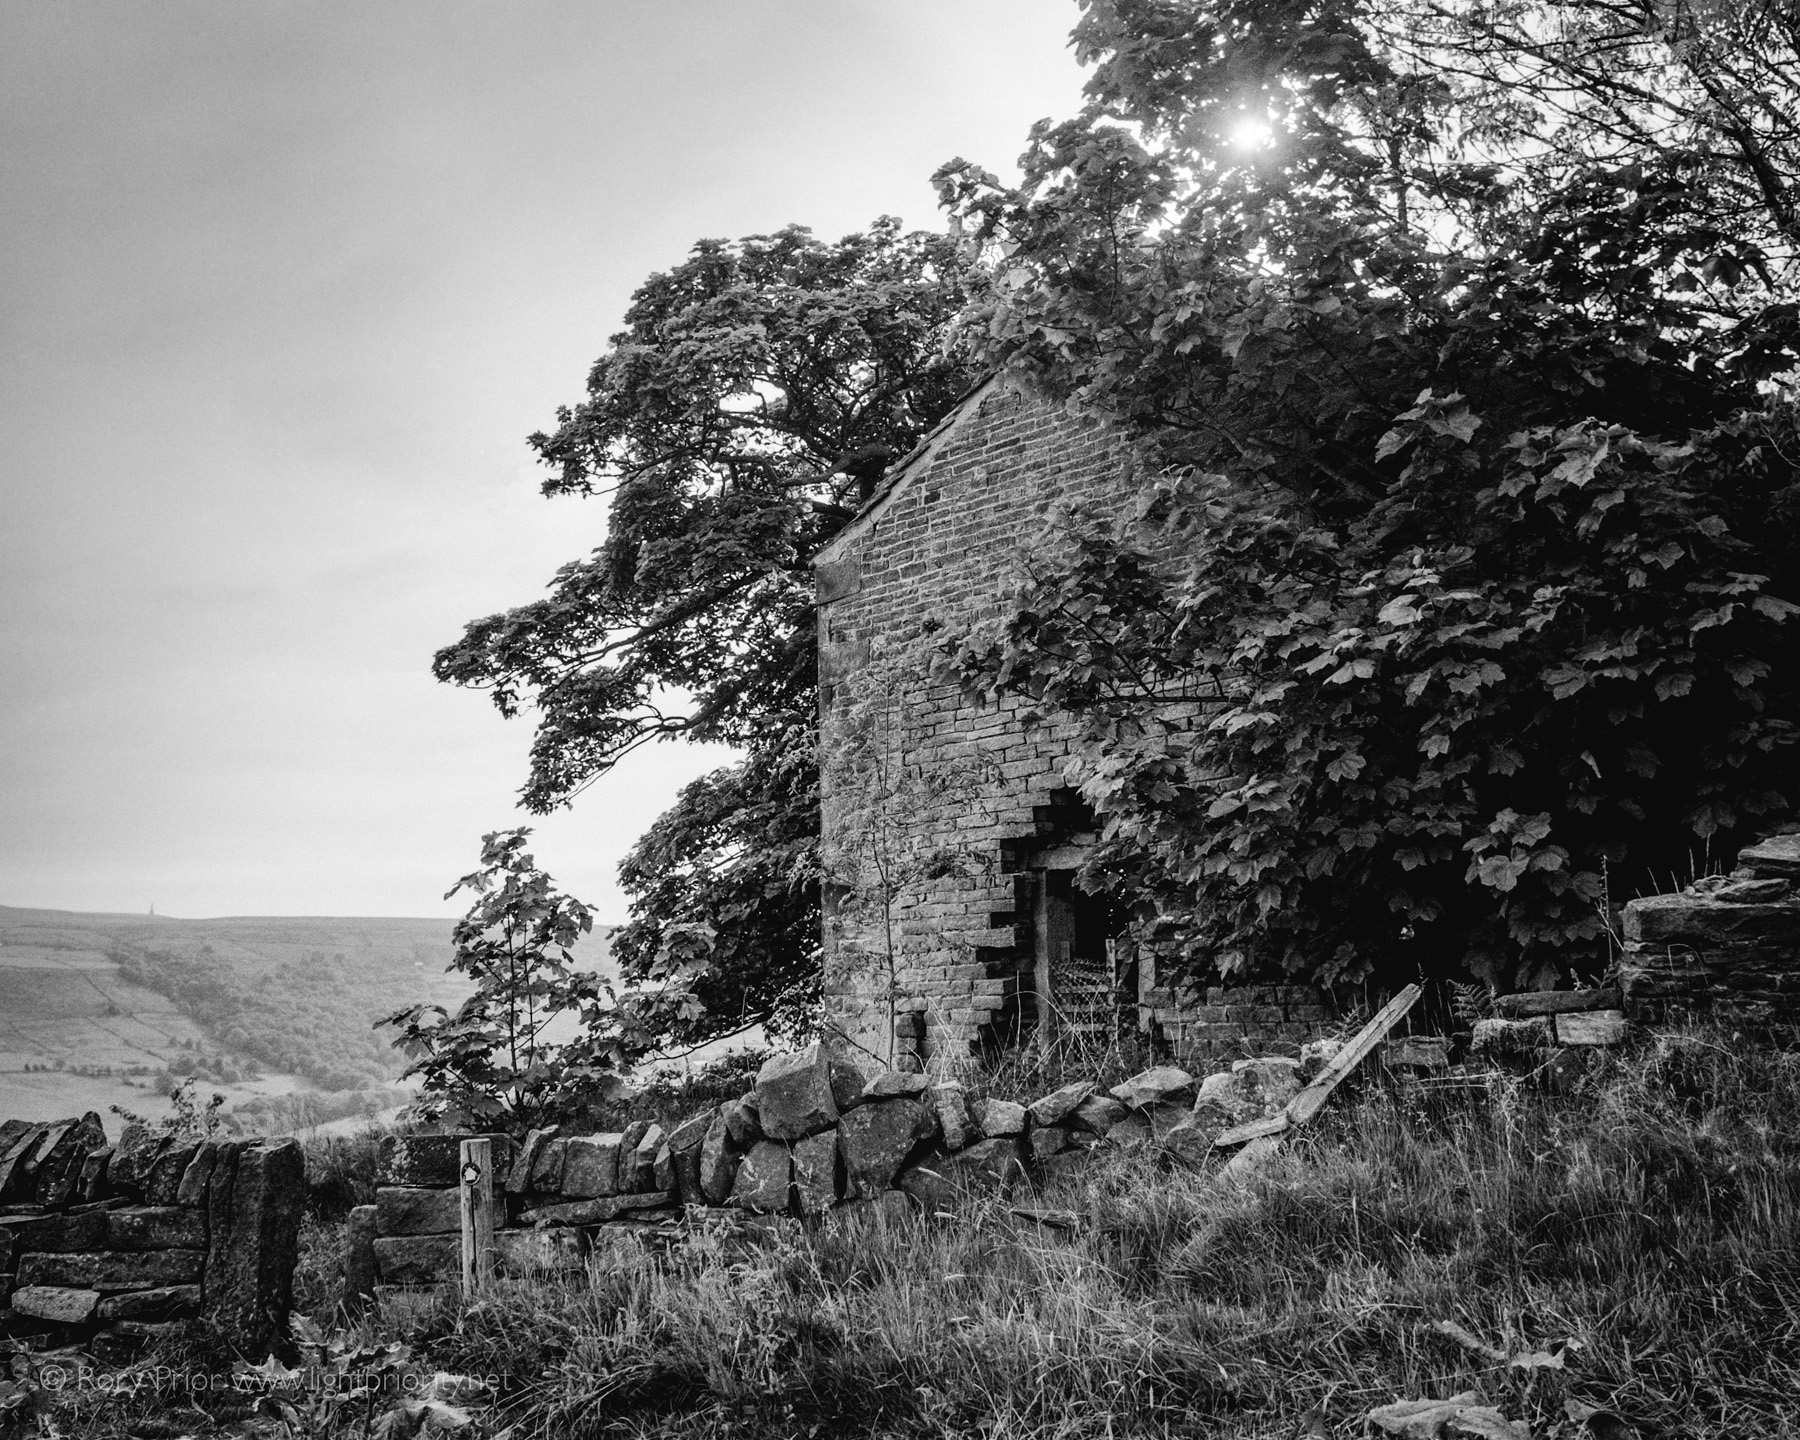
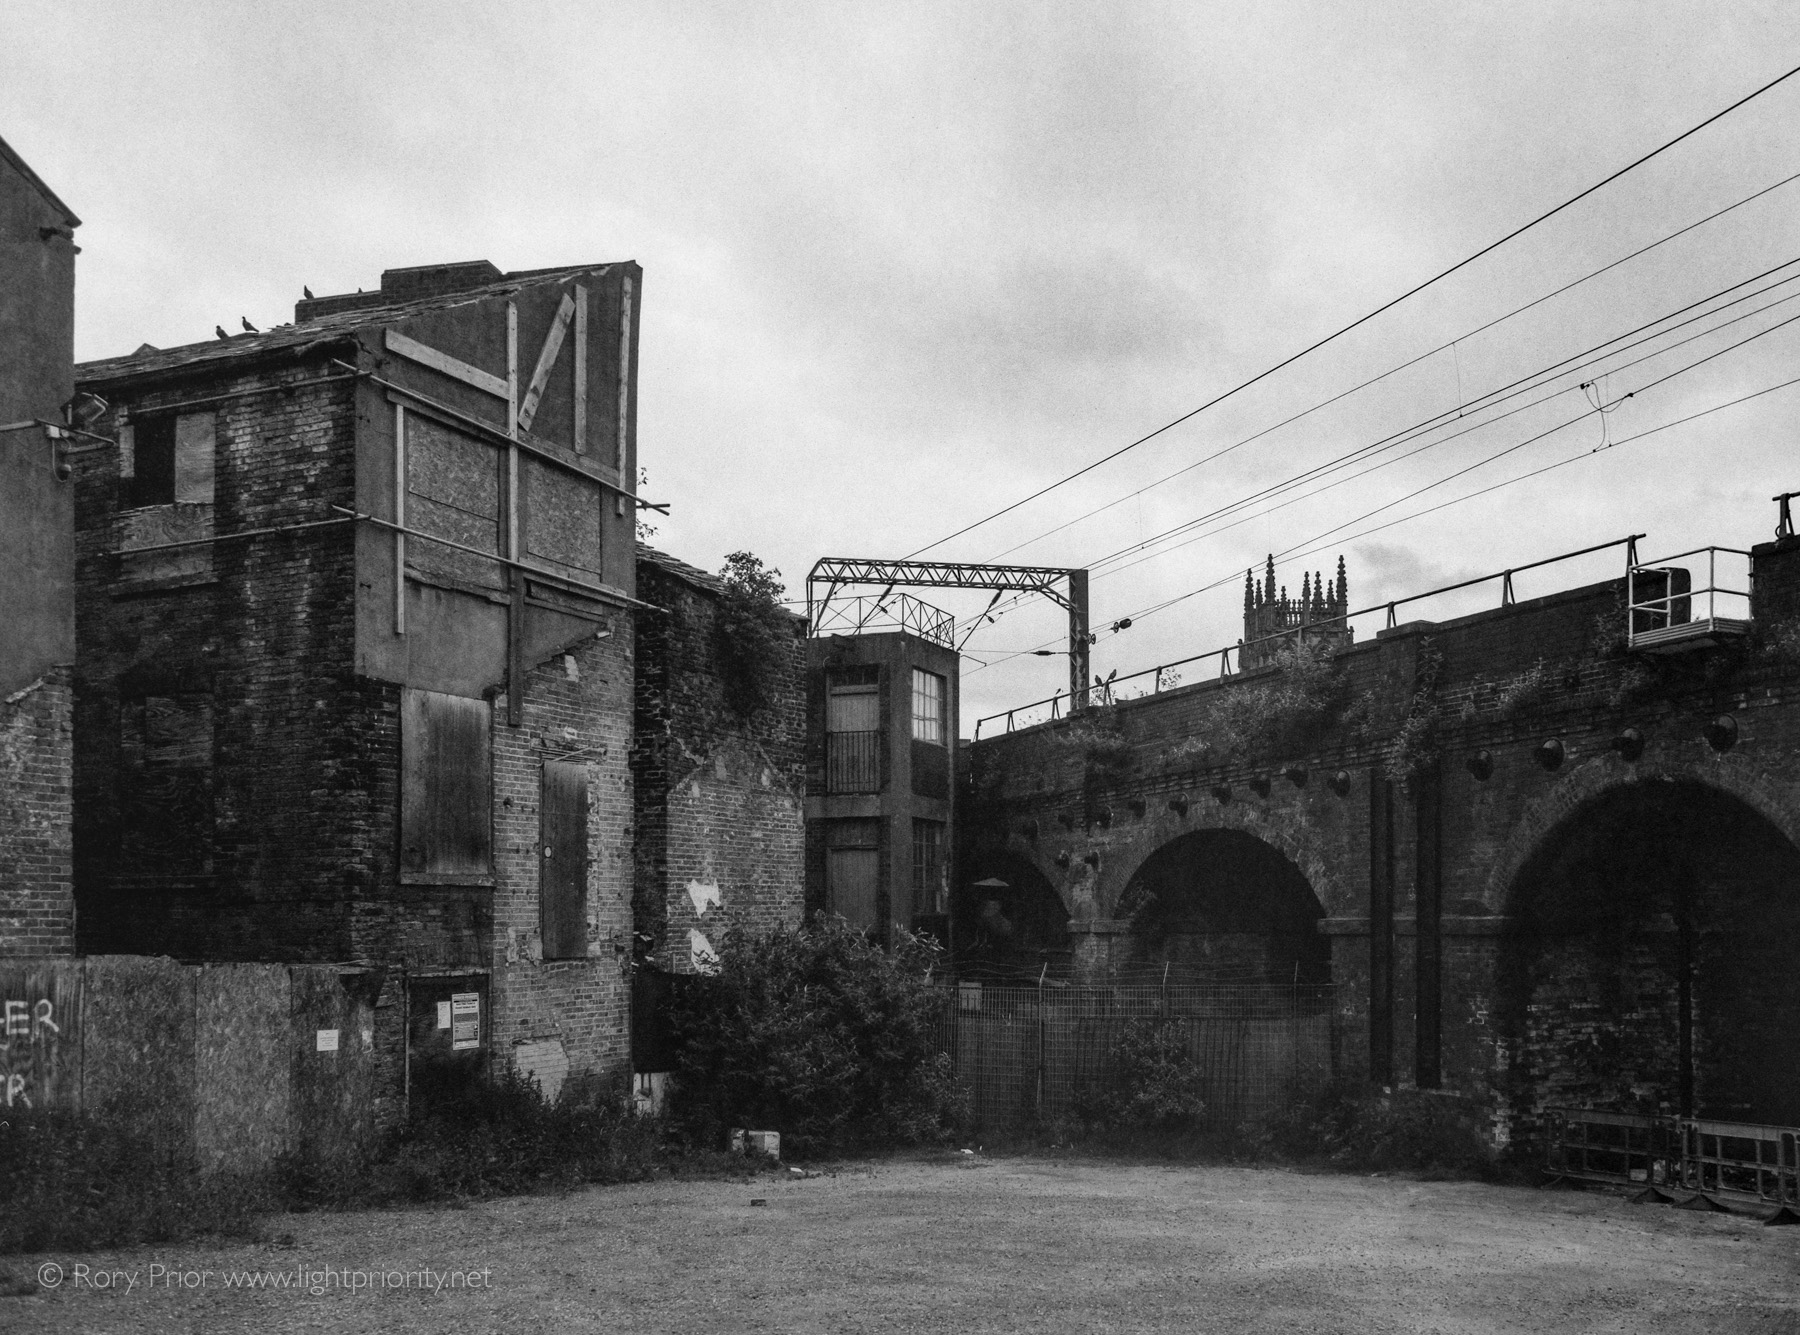
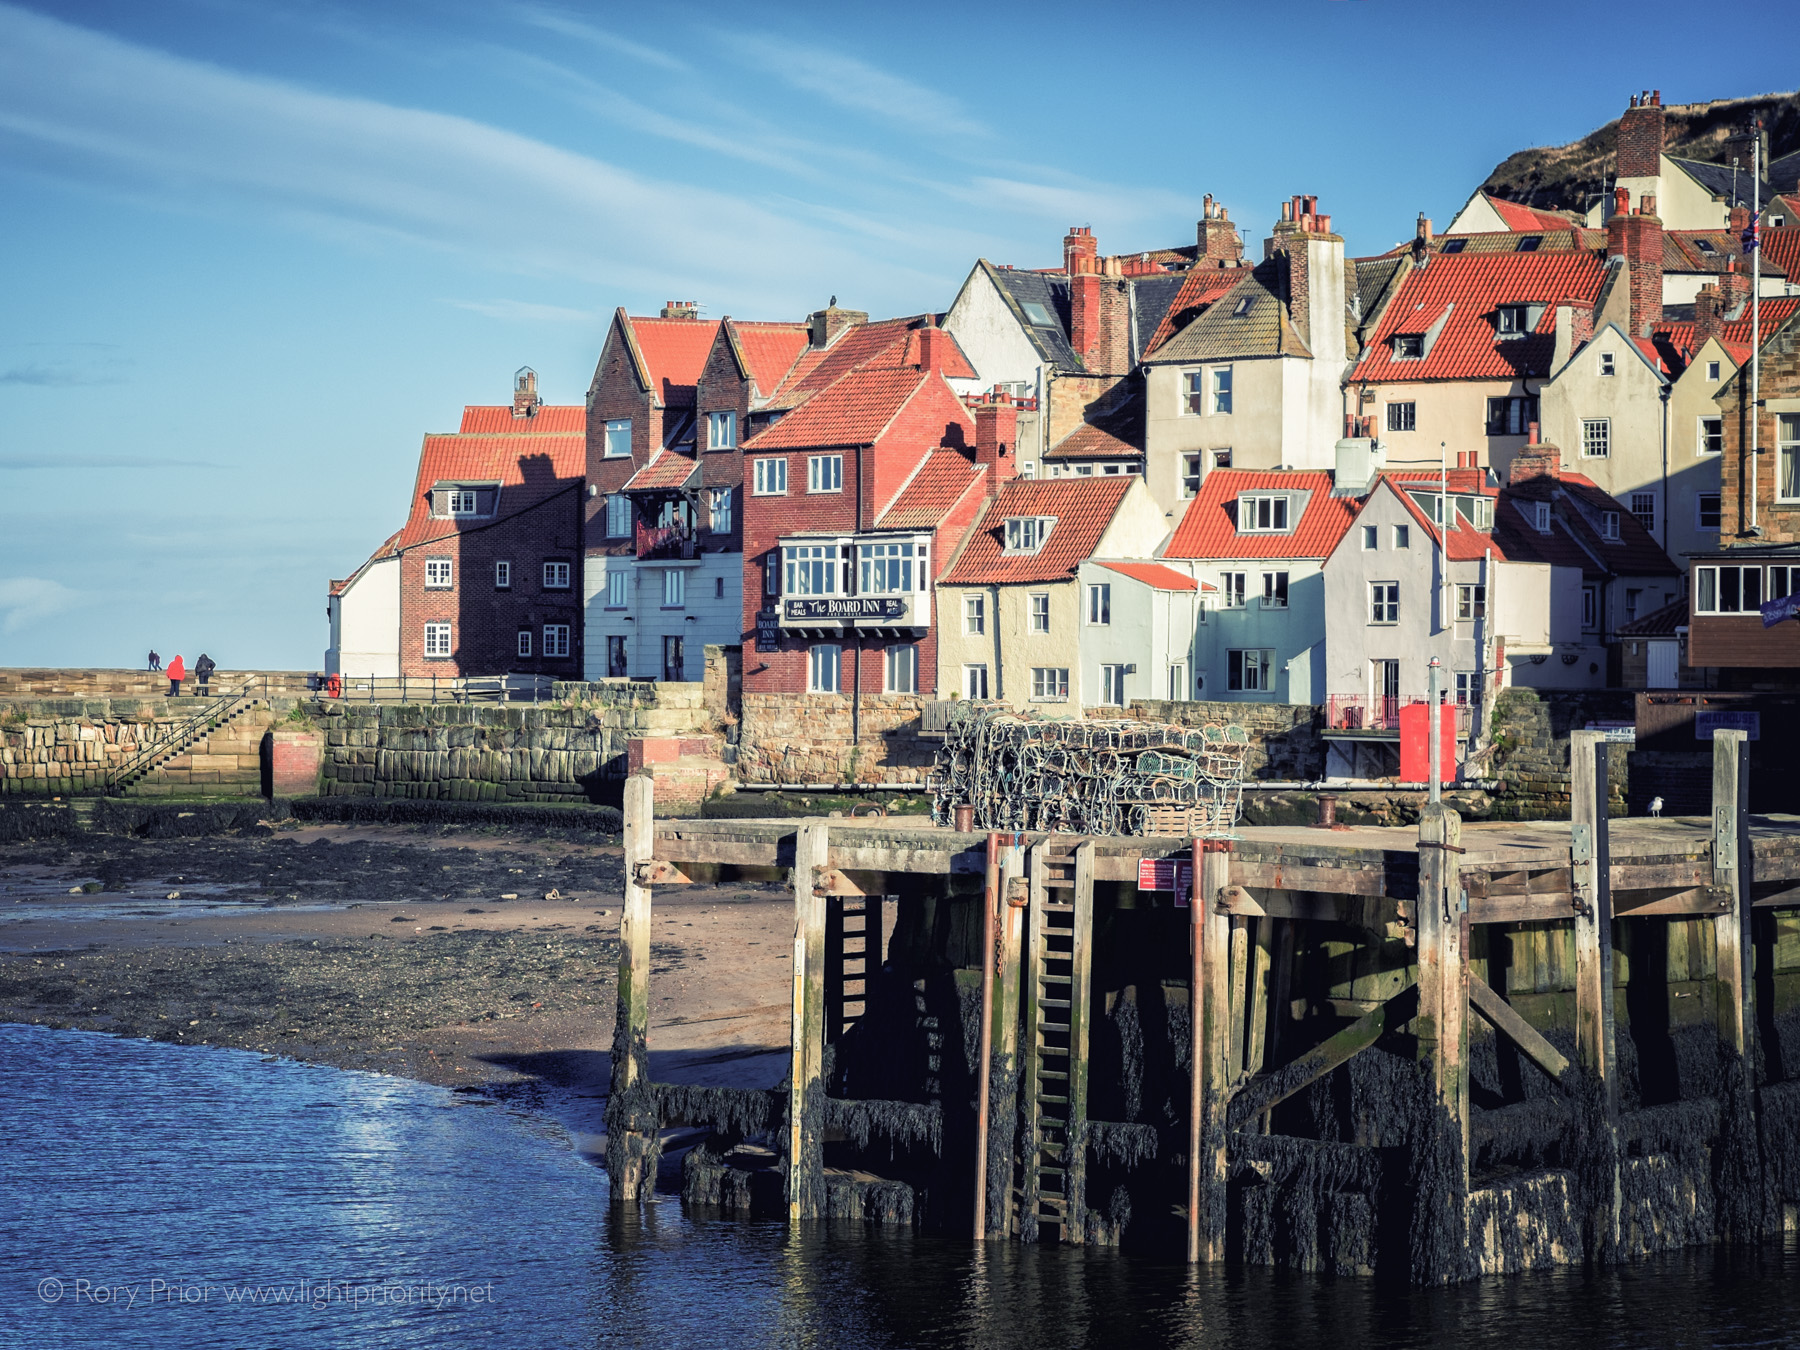
Here’s a 35mm shot from my Rollei 35 SE on Kodak Gold 200 with a 100% crop on the right. As you can see the details are pretty decent and you can make out the individual bricks in the tower in this 12 megapixel digitisation (4319×2879). It’s possible to squeeze a little more perceptual detail by cranking up the sharpness slider in Lightroom, but I’ve left it with the basic smart sharpen applied to the TIFF in Photoshop here.
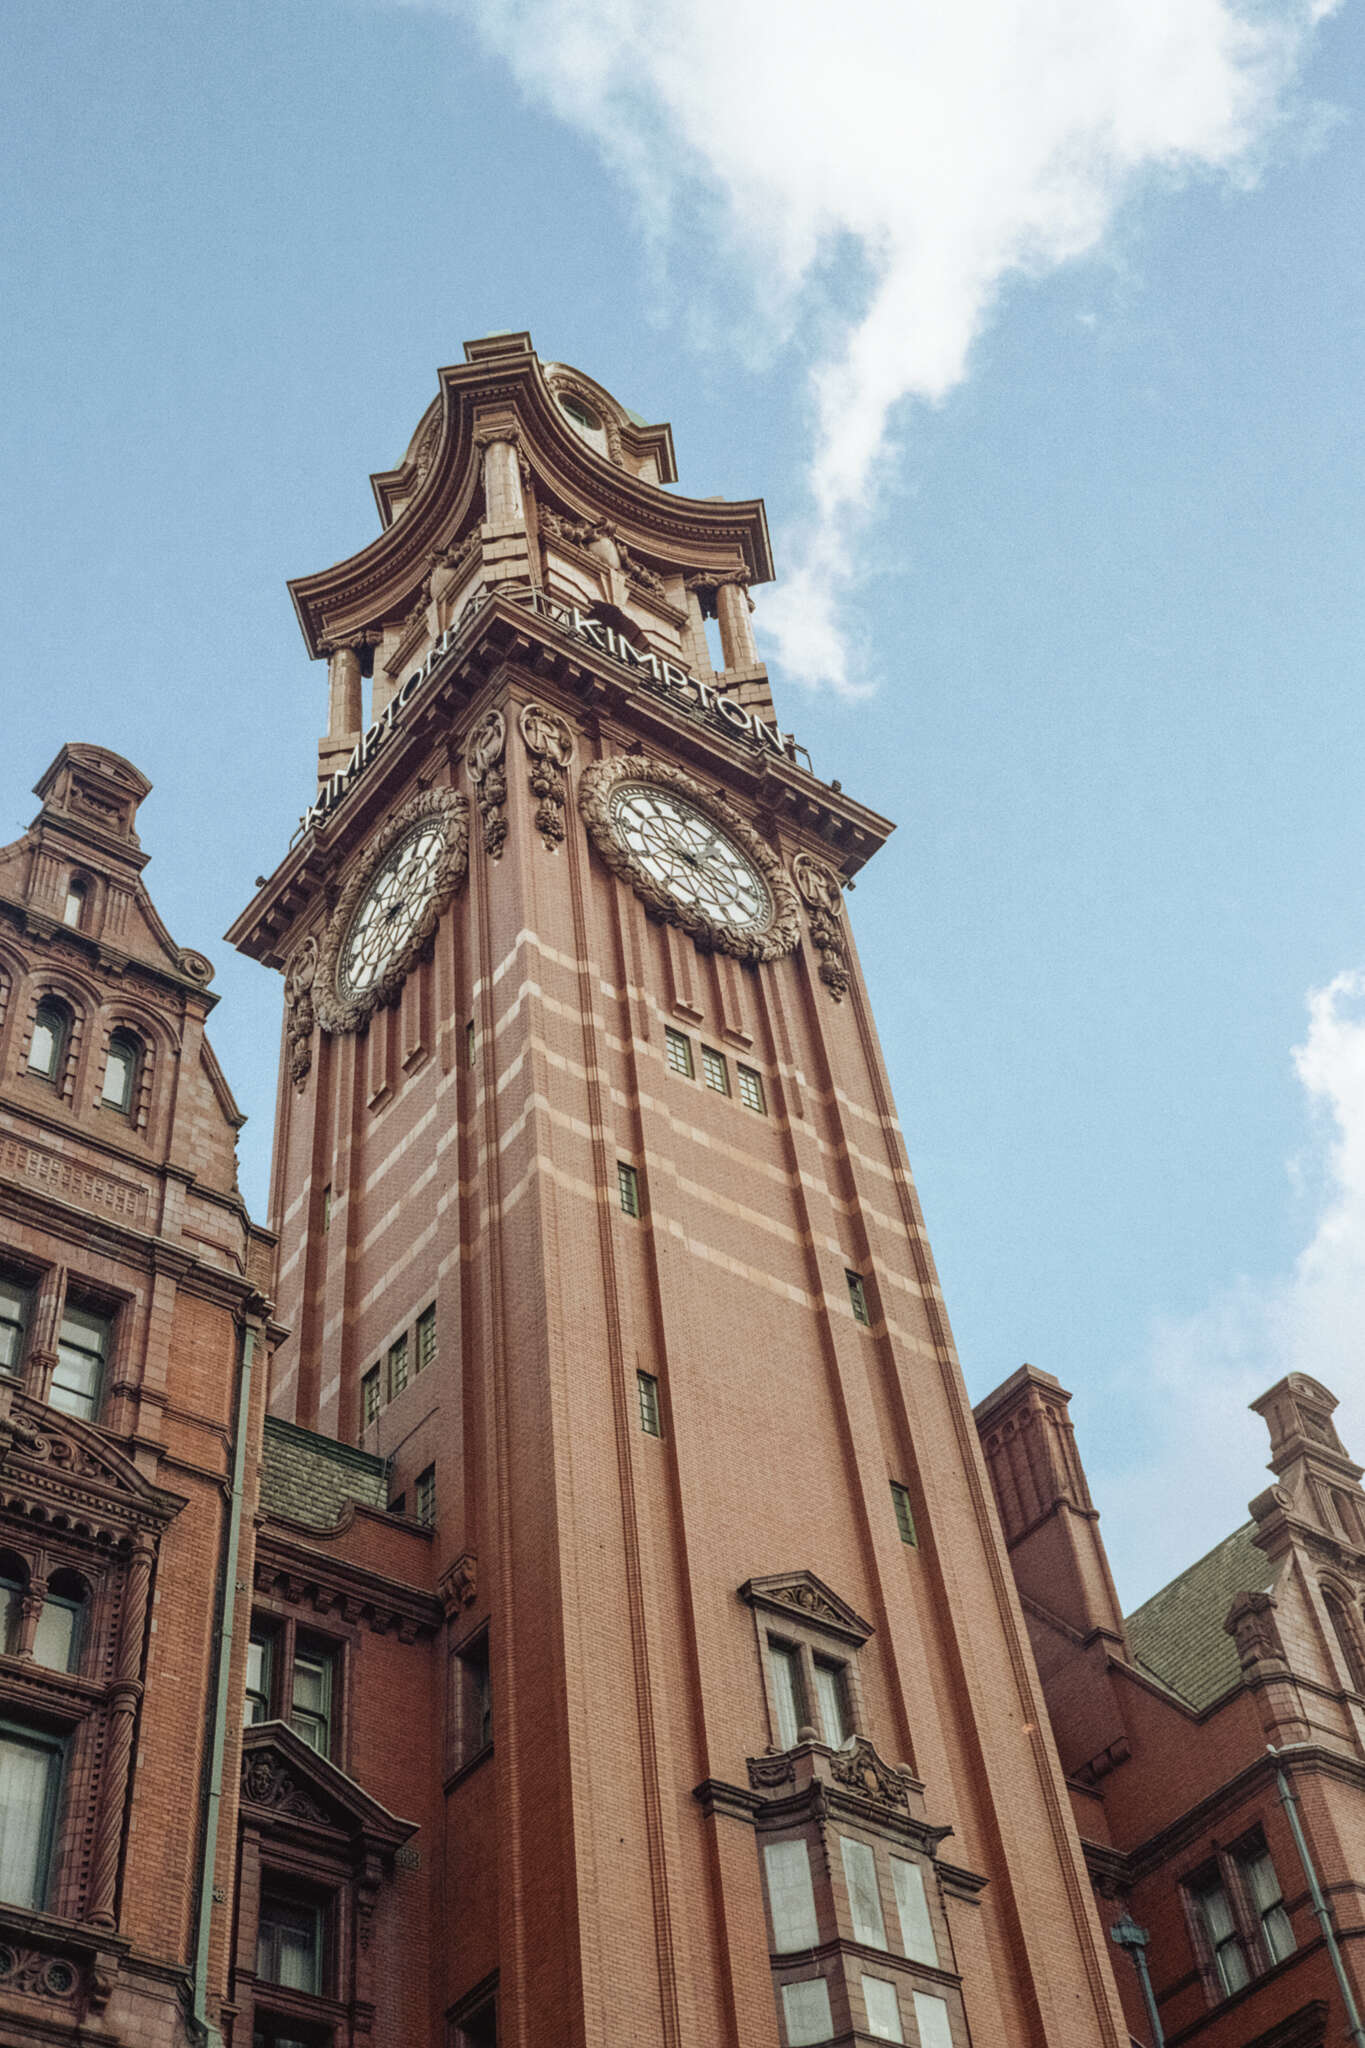

Could you squeeze more details from this negative with a better scanner or even DSLR scanning? Almost certainly, but you’d probably also make the grain a lot more visible and unless you wanted to print a truly massive image or hugely crop in would you actually gain anything? For me that answer is, “not really”. This is why I think a flatbed scanner with this level of resolution is good enough 90% of the time for 35mm and pretty much 100% of the time for medium format or larger. For that remaining 10% where more resolution is desirable on 35mm I have my PlusTek 8200 which can achieve 4000 DPI of real resolution, and for the occasional shot or even whole roll where I can make use of that it’s a good solution, but the thought of spending literally all day manually feeding each frame of multiple rolls of 35mm is very unappealing.
Is it worth it?
I bought my V850 for about £900 in 2021, since then it seems like the slightly cheaper V800 has been discontinued but despite the rampant inflation over 2022 the price still seems to be in the same ballpark. Now that’s no small chunk of change and I appreciate this scanner will be out of reach for a lot of film shooters. If you don’t need to scan 35mm or don’t mind using a cheaper flatbed scanner in combination with a dedicated 35mm scanner then there are other decent options. If you only need 35mm and don’t mind manual feed then there are a number of decent options for around £300. Compared to the cost of buying and setting up a full DSLR or mirrorless scanning rig with a 1:1 macro, good light source and film holder I think the V850 is still quite a bit cheaper, but your mileage will vary depending on what other gear you already own. For me this Epson is currently the best multi-format film scanner on the market that can still be bought new.


 [exif id=”1266″]
 [exif id=”1268″]
 [exif id=”1277″]
 [exif id=”1269″]
 [exif id=”1270″]
 [exif id=”1271″]
 [exif id=”1272″]

 [exif id=”822″]
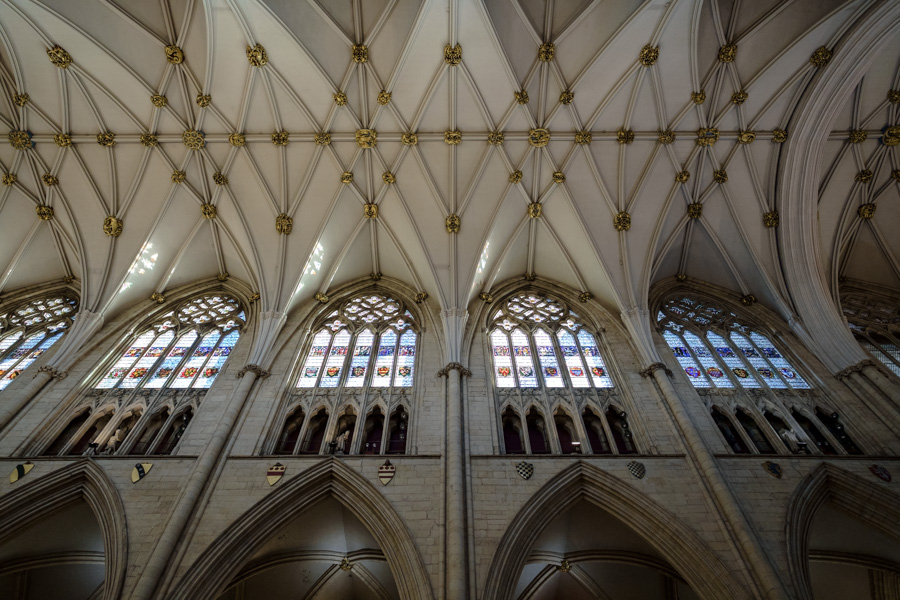 [exif id=”824″]
 [exif id=”825″]
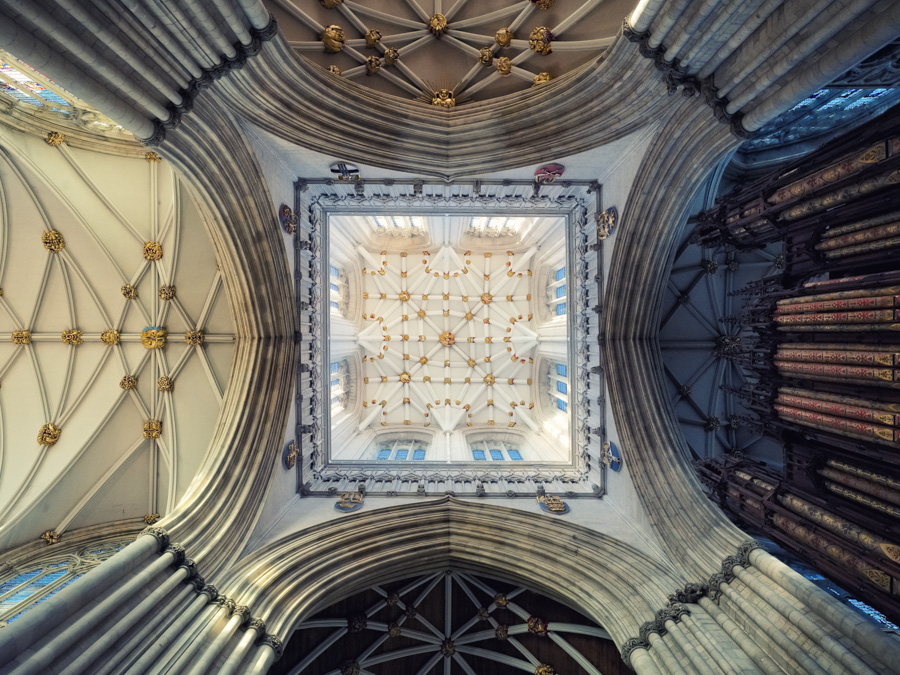 [exif id=”826″]
 [exif id=”828″]
 [exif id=”837″]
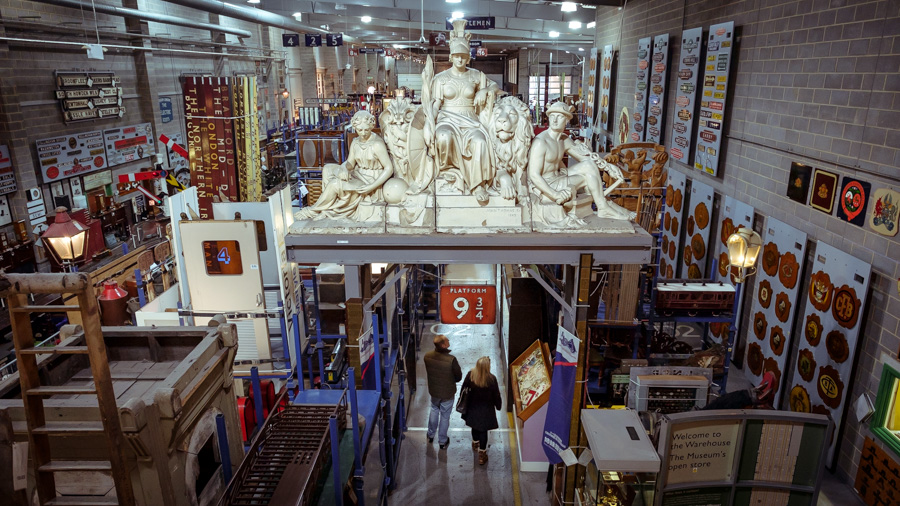 [exif id=”838″]
 Here are some 100% crops taken at f8. Processed with Lightroom 5.2 using default settings. No distortion correction applied.
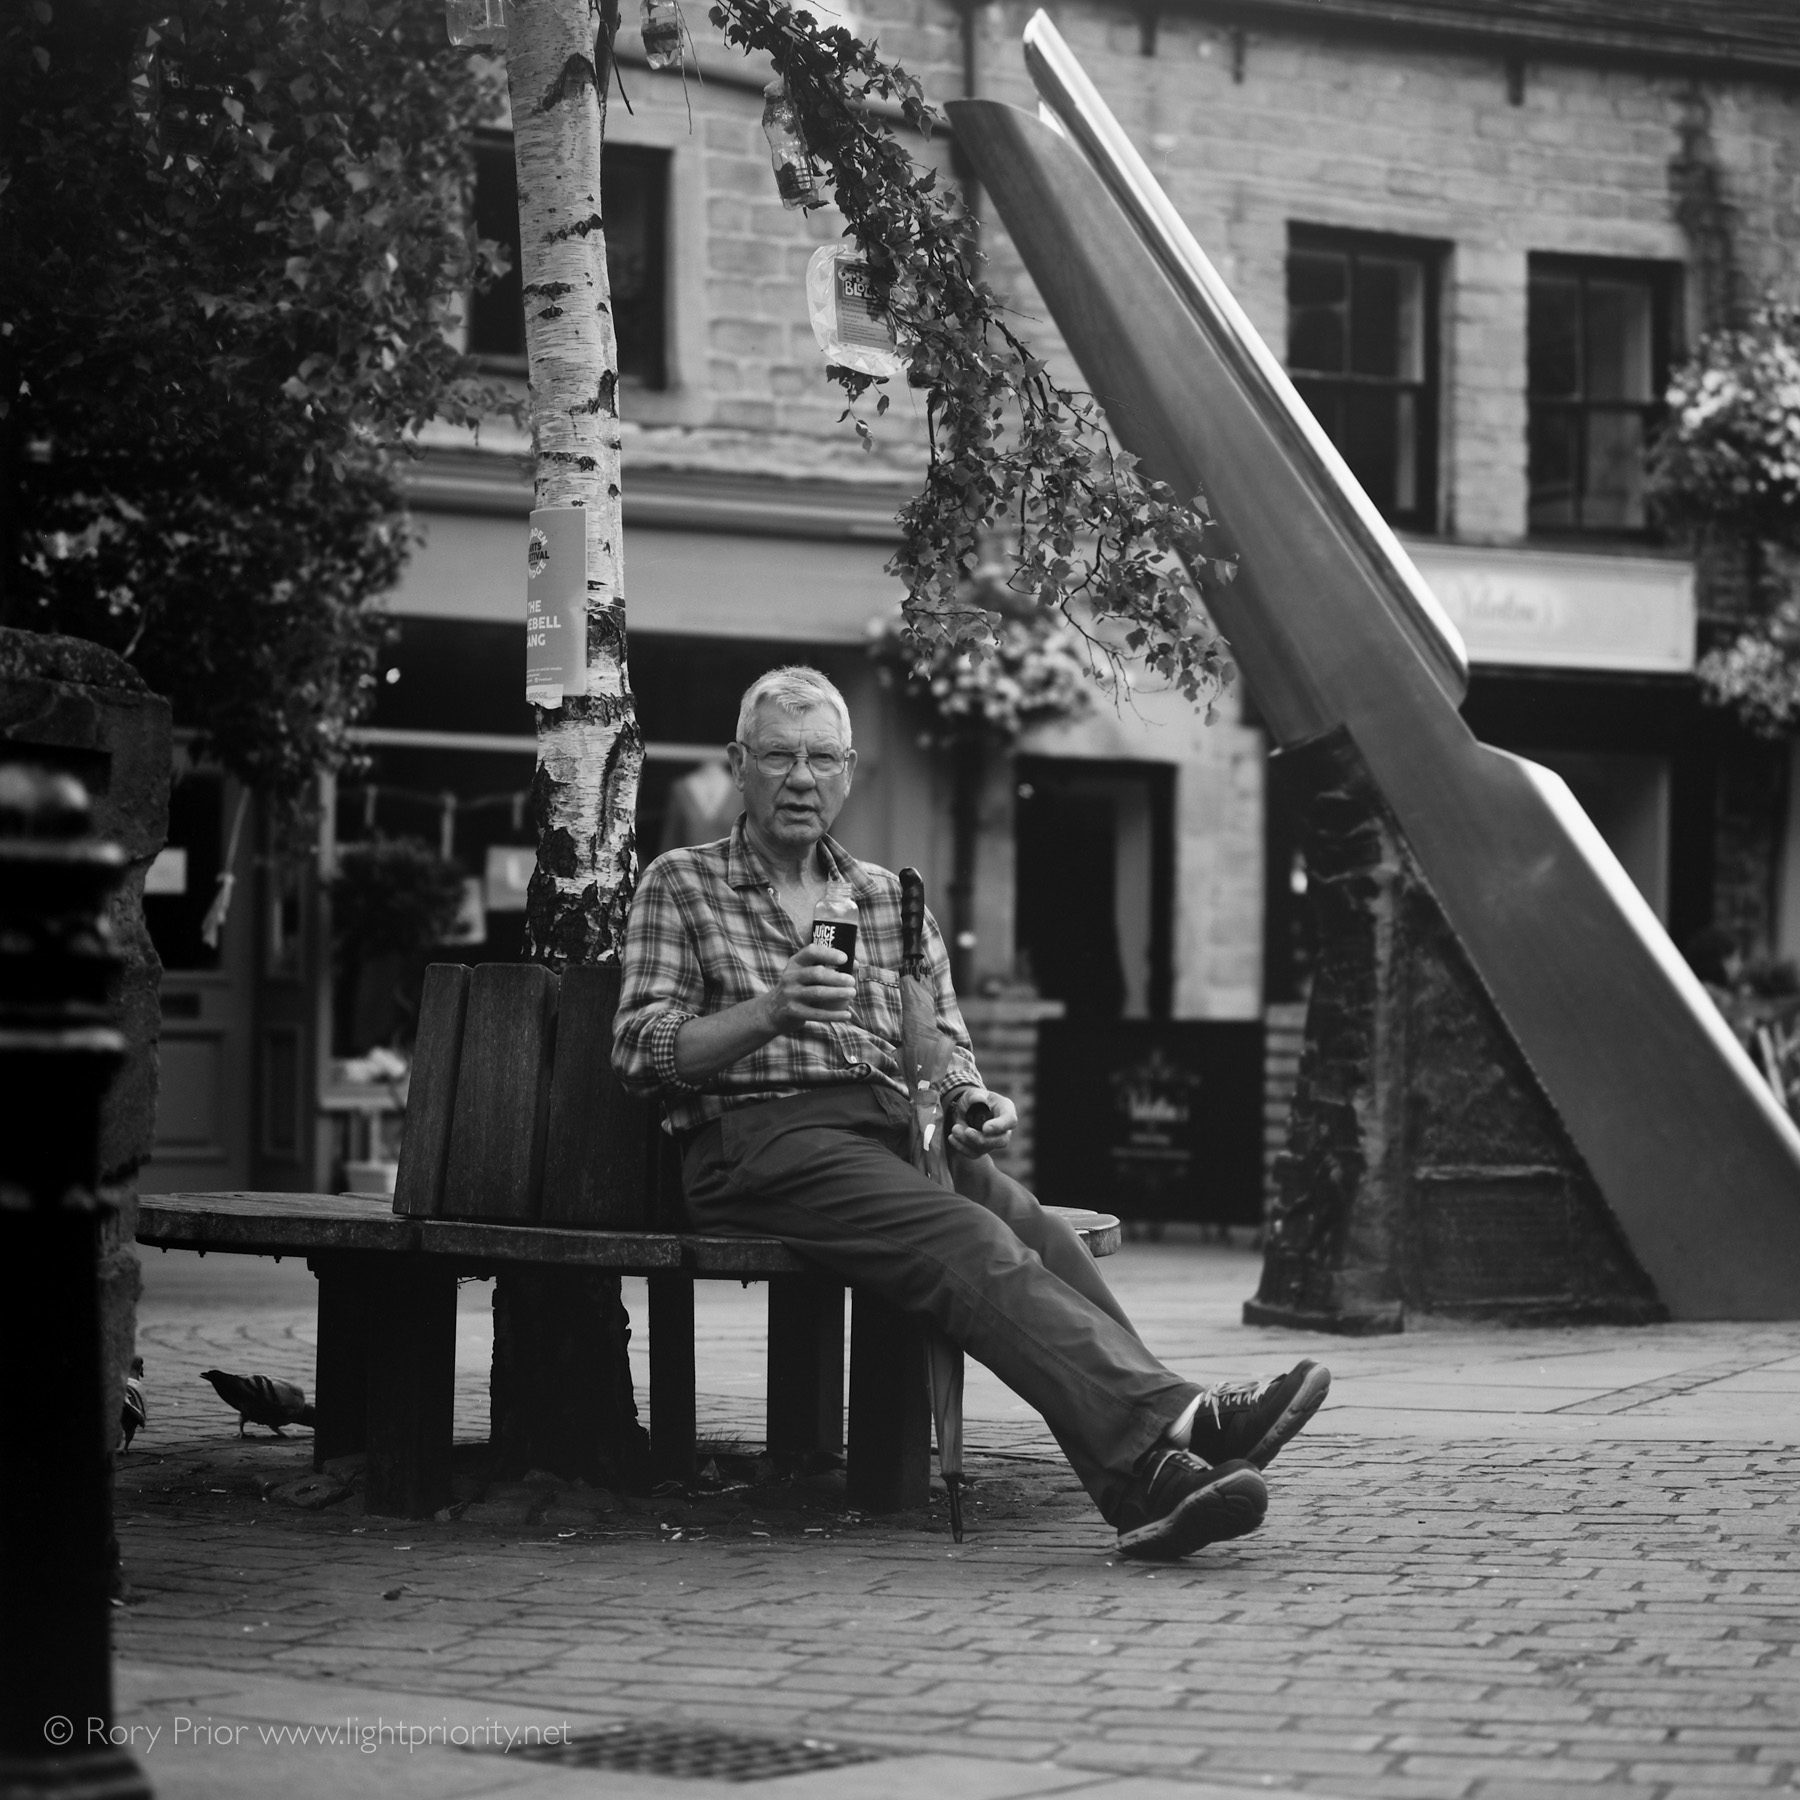
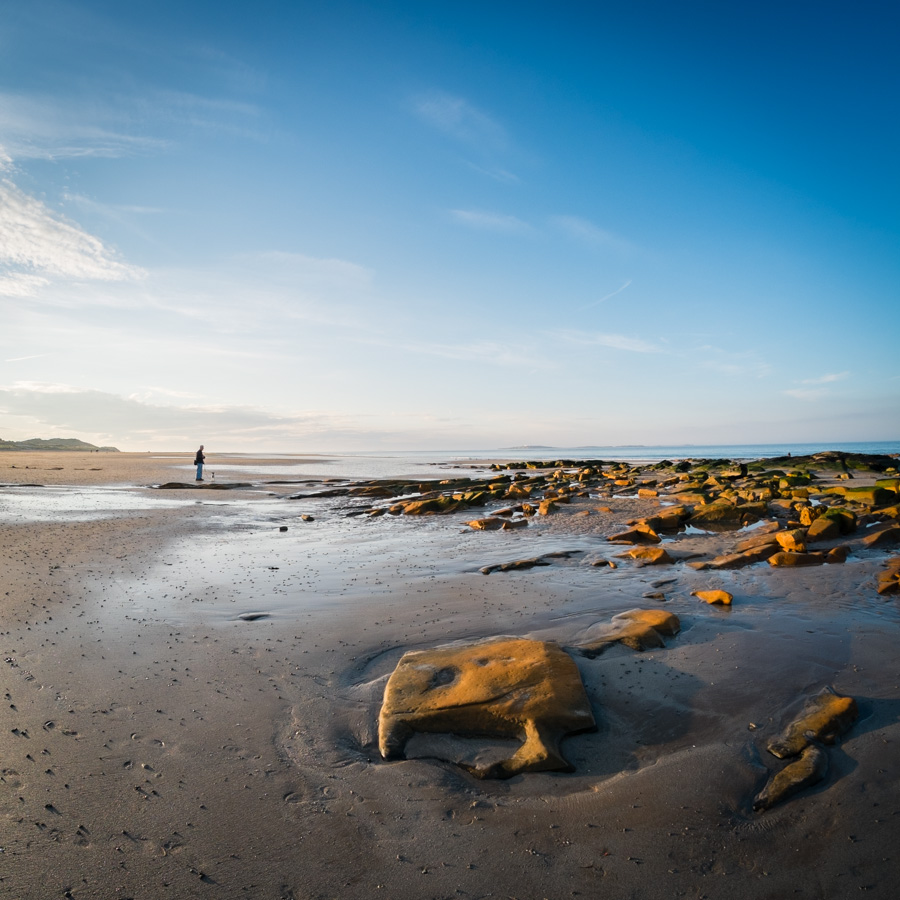 This square crop of a portrait photo has had no distortion correction applied and the subject matter makes the distortion all but invisible.
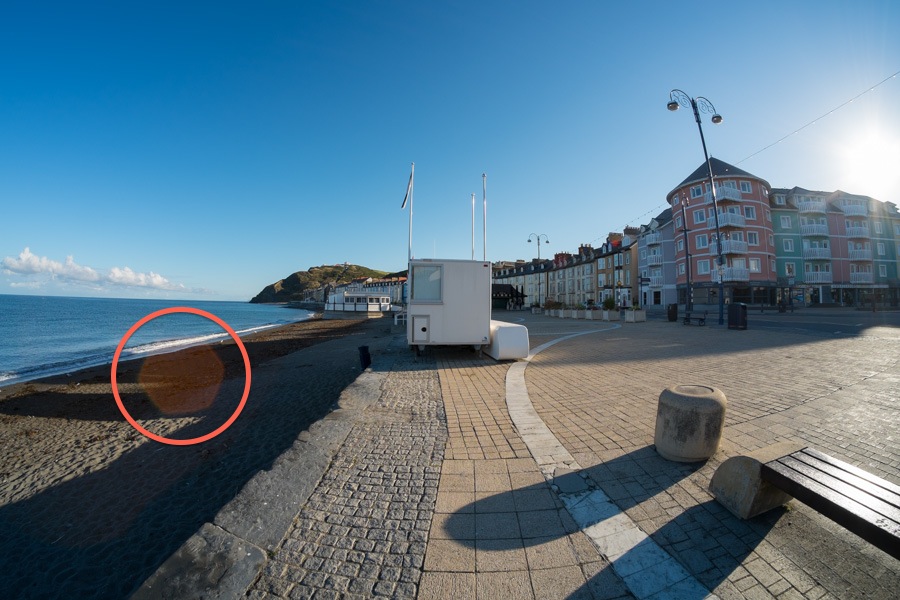
 Again no correction applied to this image, the fisheye emphasises arches and uneven walls.
 Fisheye-Hemi has been applied here to straighten the verticals while retaining the pleasing curves of the platform and roof.