![Light Priority - Photography by Rory Prior]](https://lightpriority.net/wp-content/uploads/2020/05/fulllogo.png)

As soon as I saw the leaked images of the 35mm f2, back in early 2015, I knew I wanted one. I’ve shot with the older 35mm f1.4 on many occasions and it’s a lens I’ve repeatedly considered buying and then pulled back from. Optically great, not too large or heavy, but showing its age in many respects with regards to its construction and AF performance. So enter the new f2 model, with it’s Leica style tapered design, weather resistance, super fast internal focusing and it already looks like we have a winner on our hands.
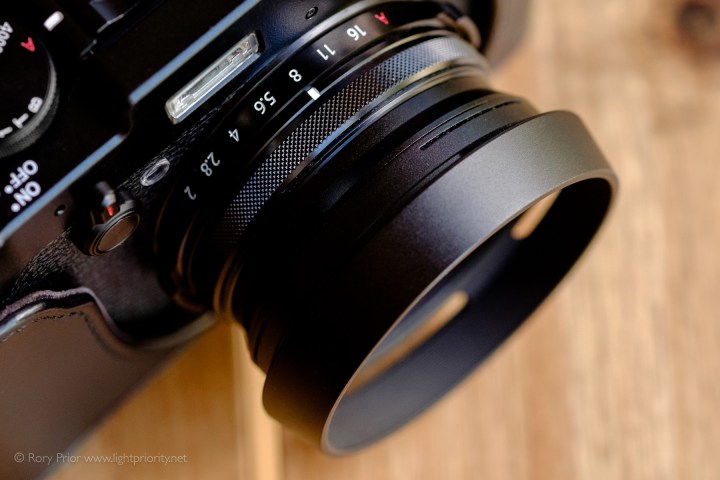
Construction & Handling
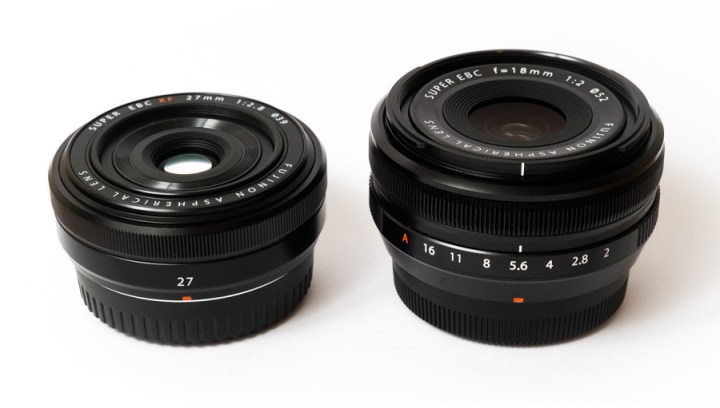
As we’ve come to expect from Fuji’s Made in Japan lenses, the 35mm f2’s build quality is fantastic. There’s no cheap plastic here like you’d find on a Canon or Nikon lens in this price range. Compared to Fuji’s other entry level prime, the 27mm f2.8, the quality is markedly better. I’m sure I’m not alone in suspecting that the 27mm f2.8 was originally intended to be part of the XC range of aperture ringless budget lenses.
Fuji finally seems to have cracked what an acceptable level of clickiness is for an aperture ring. The 35mm f2 offers just the right amount of resistance in that it won’t turn accidentally, but also doesn’t feel like its putting up a fight when you do want to change it. The focus ring is nice and smooth like every Fuji lens I’ve used. It’s on the narrow side, but it’s usable for manual focus.
As the lens carries the “WR” badge for weather resistance, it has a rubber gasket around the mount. This is a feature that I was used to in my Nikon days, even on non-weather sealed lenses, and I’m glad it’s finding its way into Fuji’s lineup. It helps to seal the camera body against dust as much as moisture. Of course there are plenty of other seals within the lens too that should help keep moisture and dust from getting into the internals.
Exactly how effective Fuji’s WR is I don’t know – I certainly feel less worried about WR gear getting a bit of rain or snow on it, but without any kind of official standard it’s impossible to know just how “resistant” it is. Erring on the side of caution is therefore still probably your best bet to secure the longevity of your gear, with the WR stamp being more of an insurance policy than an invitation to treat things carelessly.
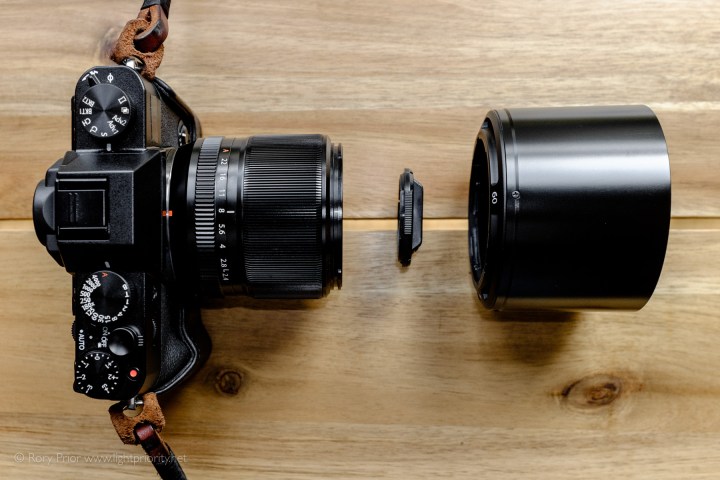
One area where the 35mm f2 does let us down a little is with the supplied hood. That it’s plastic is not unexpected these days, but what’s less forgivable is that it’s a nasty screw-in design that uses the filter thread. This is despite the fact the lens has a bayonet fitting specifically for a hood. Fuji will happily sell you a metal vented hood that uses said bayonet, but of course it’s stupidly expensive. On the positive side, at least the plastic screw-in hood is small and the lens cap fits neatly inside it. If you happen to also own the new Fuji 23mm f2, both hoods are interchangeable and the 23mm version does use the bayonet.
One more slight disappoint is the introduction of yet another odd-ball filter size, this time 43mm. Thankfully now the 23mm f2 has been launched sharing this thread size, at least there are two lenses in the lineup with it. Unfortunately the newly announced 50mm f2 lens doesn’t make it three, so if you opt for the 23-35-50 f2 set you’ll need either multiple filter sizes or step up rings *sigh*.
Optical Quality
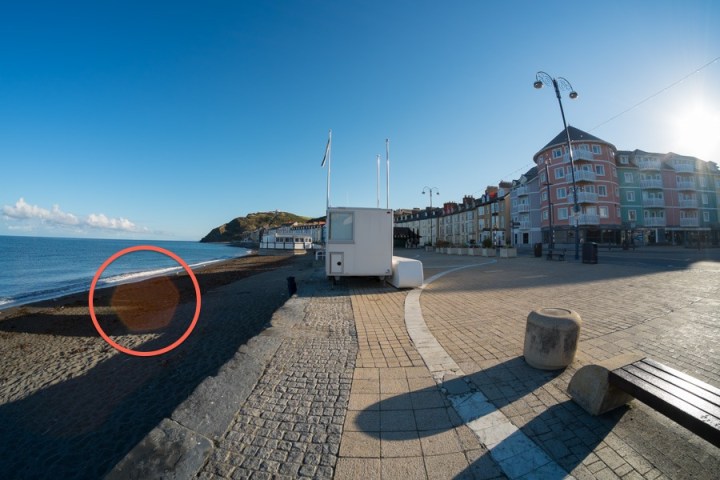
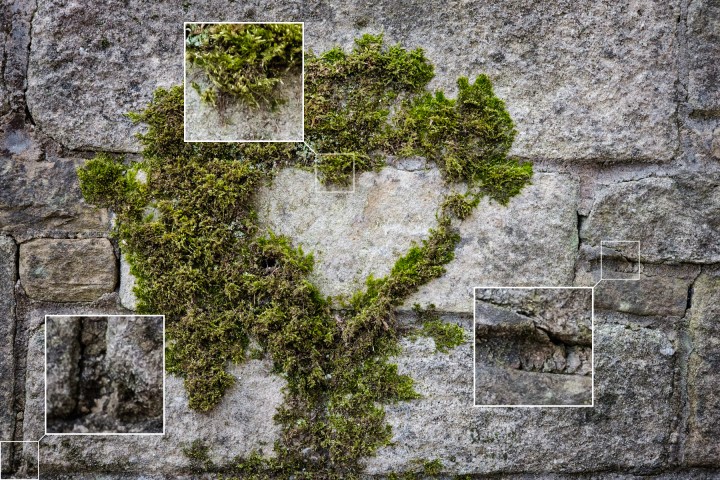
As you might expect, the 35mm f2 isn’t optically as good as the 35mm f1.4. There’s a bit of electronic distortion correction being applied and the extreme corners never quite get there in terms of sharpness. That said the center is fantastic and in real world shooting, the very extreme corners being fractionally soft has never been a problem.
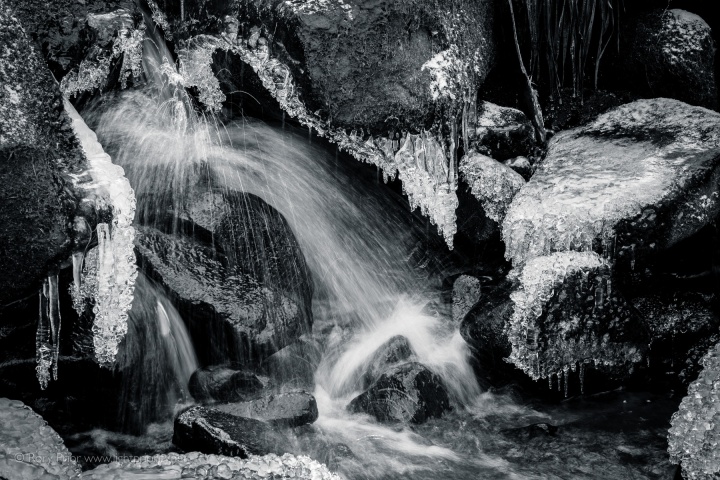
The lens’s bokeh is smooth and pleasing, with Fuji blessing it with 9 aperture blades. Out of focus highlights stay nice and round even when stopped down. The example below with the crystal ball was shot at f5.6 for example. The older 35mm f1.4 only has 7 blades by contrast and produces more angular bokeh balls as a result. F2 still provides plenty of scope for shallow depth of field photography, but obviously the f1.4 model has the edge in terms of extreme subject separation and will produce slightly sharper results when stopped down to f2.

[exif id=”1448″]

[exif id=”1219″]
AF Speed
This little lens is a speed demon! It may not have one of those fancy linear motors to brag about, but its internal focus mechanism is incredibly quick on all recent Fuji bodies. Even old X-Trans 1 models show a good level of performance. As the 35mm f2 has an internal focus design, outwardly no parts move while focus is being acquired. This no doubt contributes to its extremely quiet operation and is a boon for polariser users.

[exif id=”1455″]
Compared to the Fuji 35mm f1.4
If you already own the older Fuji 35mm lens, should you “upgrade” to the new model? The answer to that question will depend heavily on the type of photography you do. If you’re mostly shooting posed portraits, desperately need that extra f stop or require the ultimate in corner sharpness then the older lens is probably still your best bet. However if you rarely shoot at f1.4, would benefit from the faster autofocus, quieter operation and weather sealing, then the new lens does look very attractive. If you have the money to spare then owning both could be a good compromise. For my shooting style and wallet the 35mm f2 just makes more sense.

[exif id=”1452″]
Conclusion
This lens isn’t optically perfect and it’s a little darker than its older f1.4 brother, but both those quibbles are largely offset by just how nice this lens is to shoot with. From its diminutive proportions, to its weather resistance, build quality, focus speed and general rendering – it’s just a pleasure to use. It pairs well with all Fuji’s current cameras, especially the X-Pro series. As part of a small f2 prime kit, along with the 23mm and 50mm, it will no doubt be finding its way into a lot of gear bags. All indications are that it is one of the best selling and most popular XF lenses available at the moment and I can see why.
If you find this review helpful please consider purchasing a print from my store here or on Etsy to help support the site.


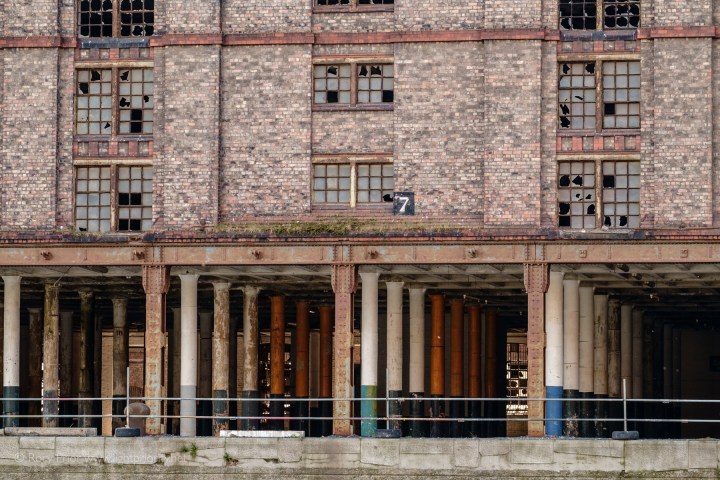
 [exif id=”1266″]
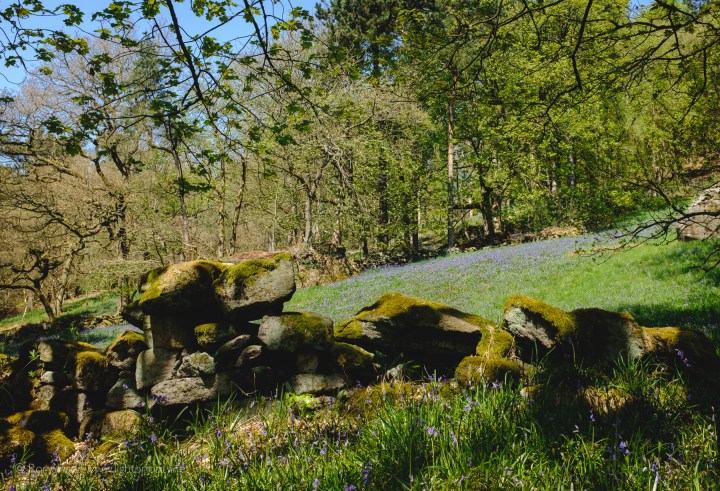 [exif id=”1268″]
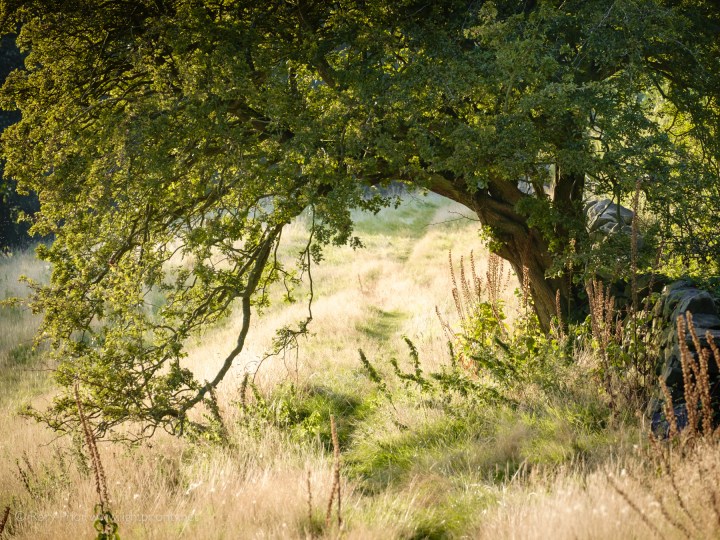
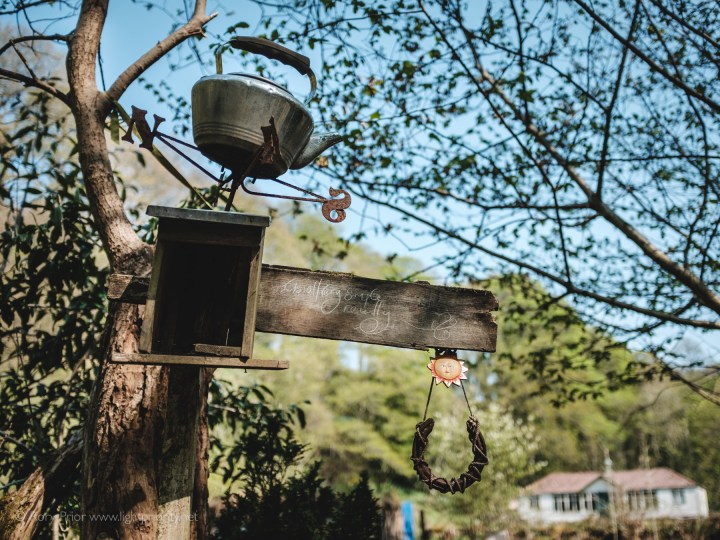 [exif id=”1277″]
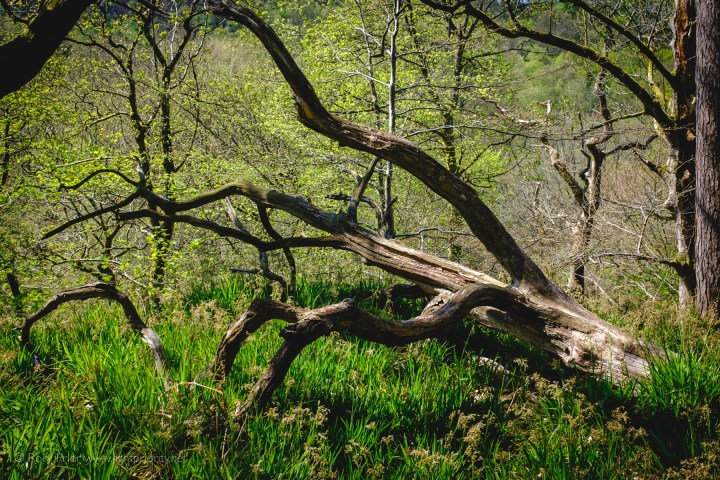 [exif id=”1269″]
 [exif id=”1270″]
 [exif id=”1271″]
 [exif id=”1272″]


 [exif id=”822″]
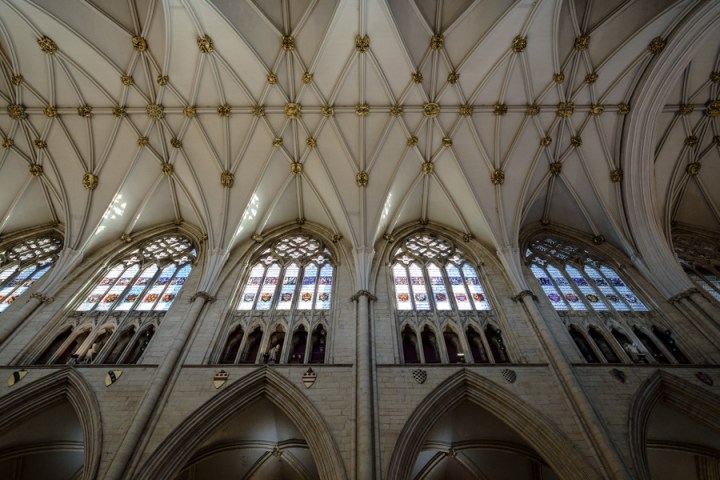 [exif id=”824″]
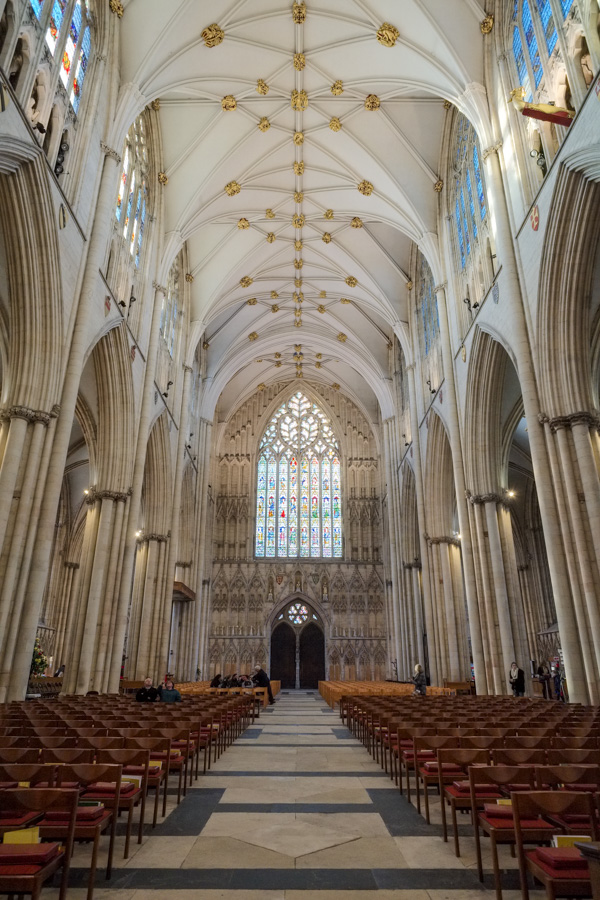 [exif id=”825″]
 [exif id=”826″]
 [exif id=”828″]
 [exif id=”837″]
 [exif id=”838″]


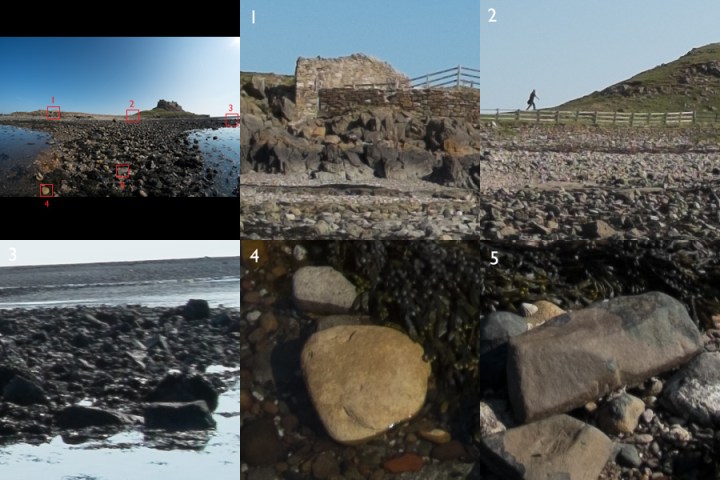 Here are some 100% crops taken at f8. Processed with Lightroom 5.2 using default settings. No distortion correction applied.
 This square crop of a portrait photo has had no distortion correction applied and the subject matter makes the distortion all but invisible.
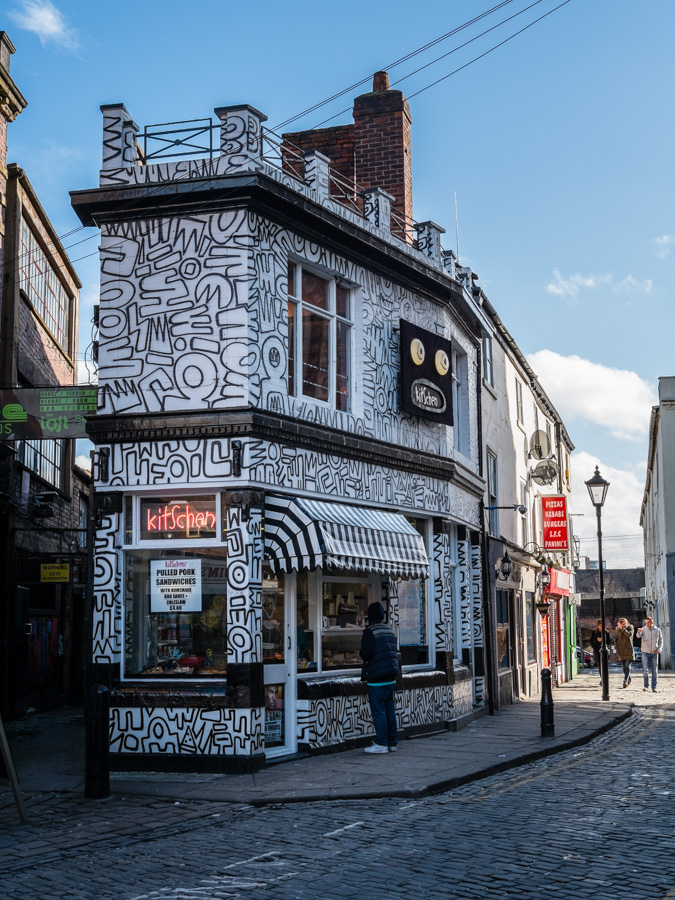
 Again no correction applied to this image, the fisheye emphasises arches and uneven walls.
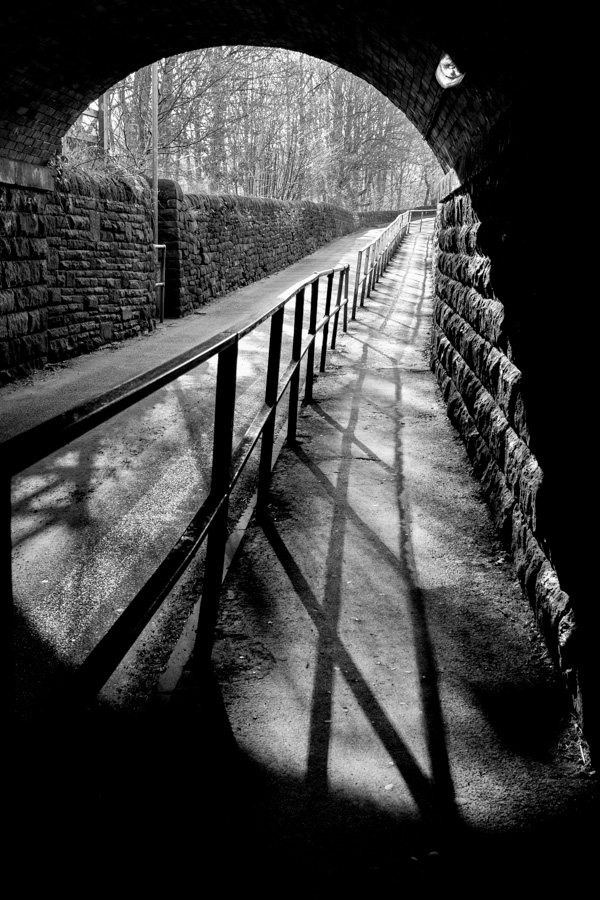
 Fisheye-Hemi has been applied here to straighten the verticals while retaining the pleasing curves of the platform and roof.