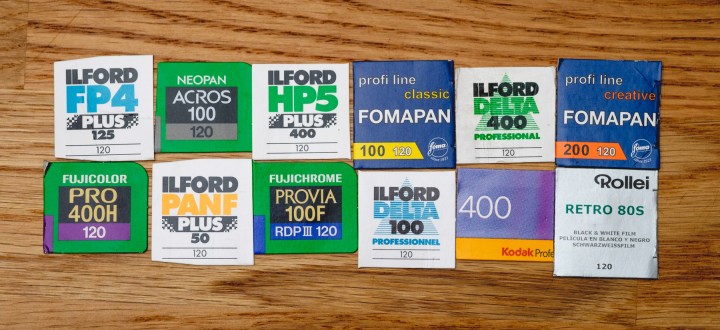
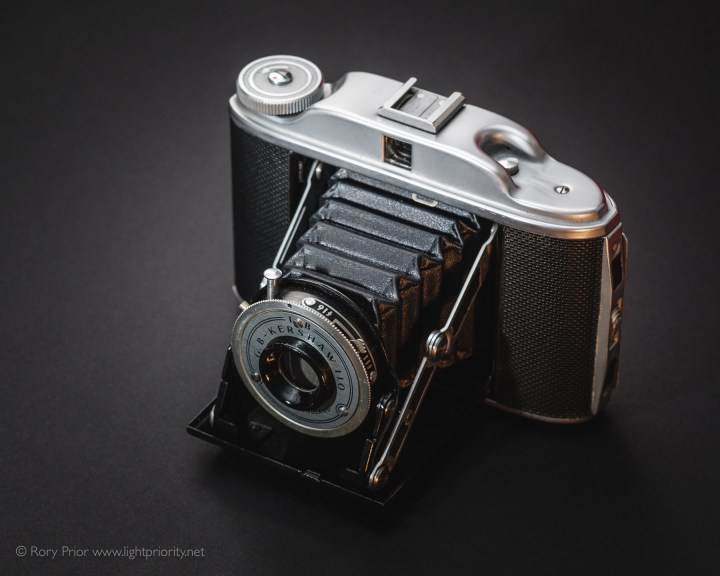
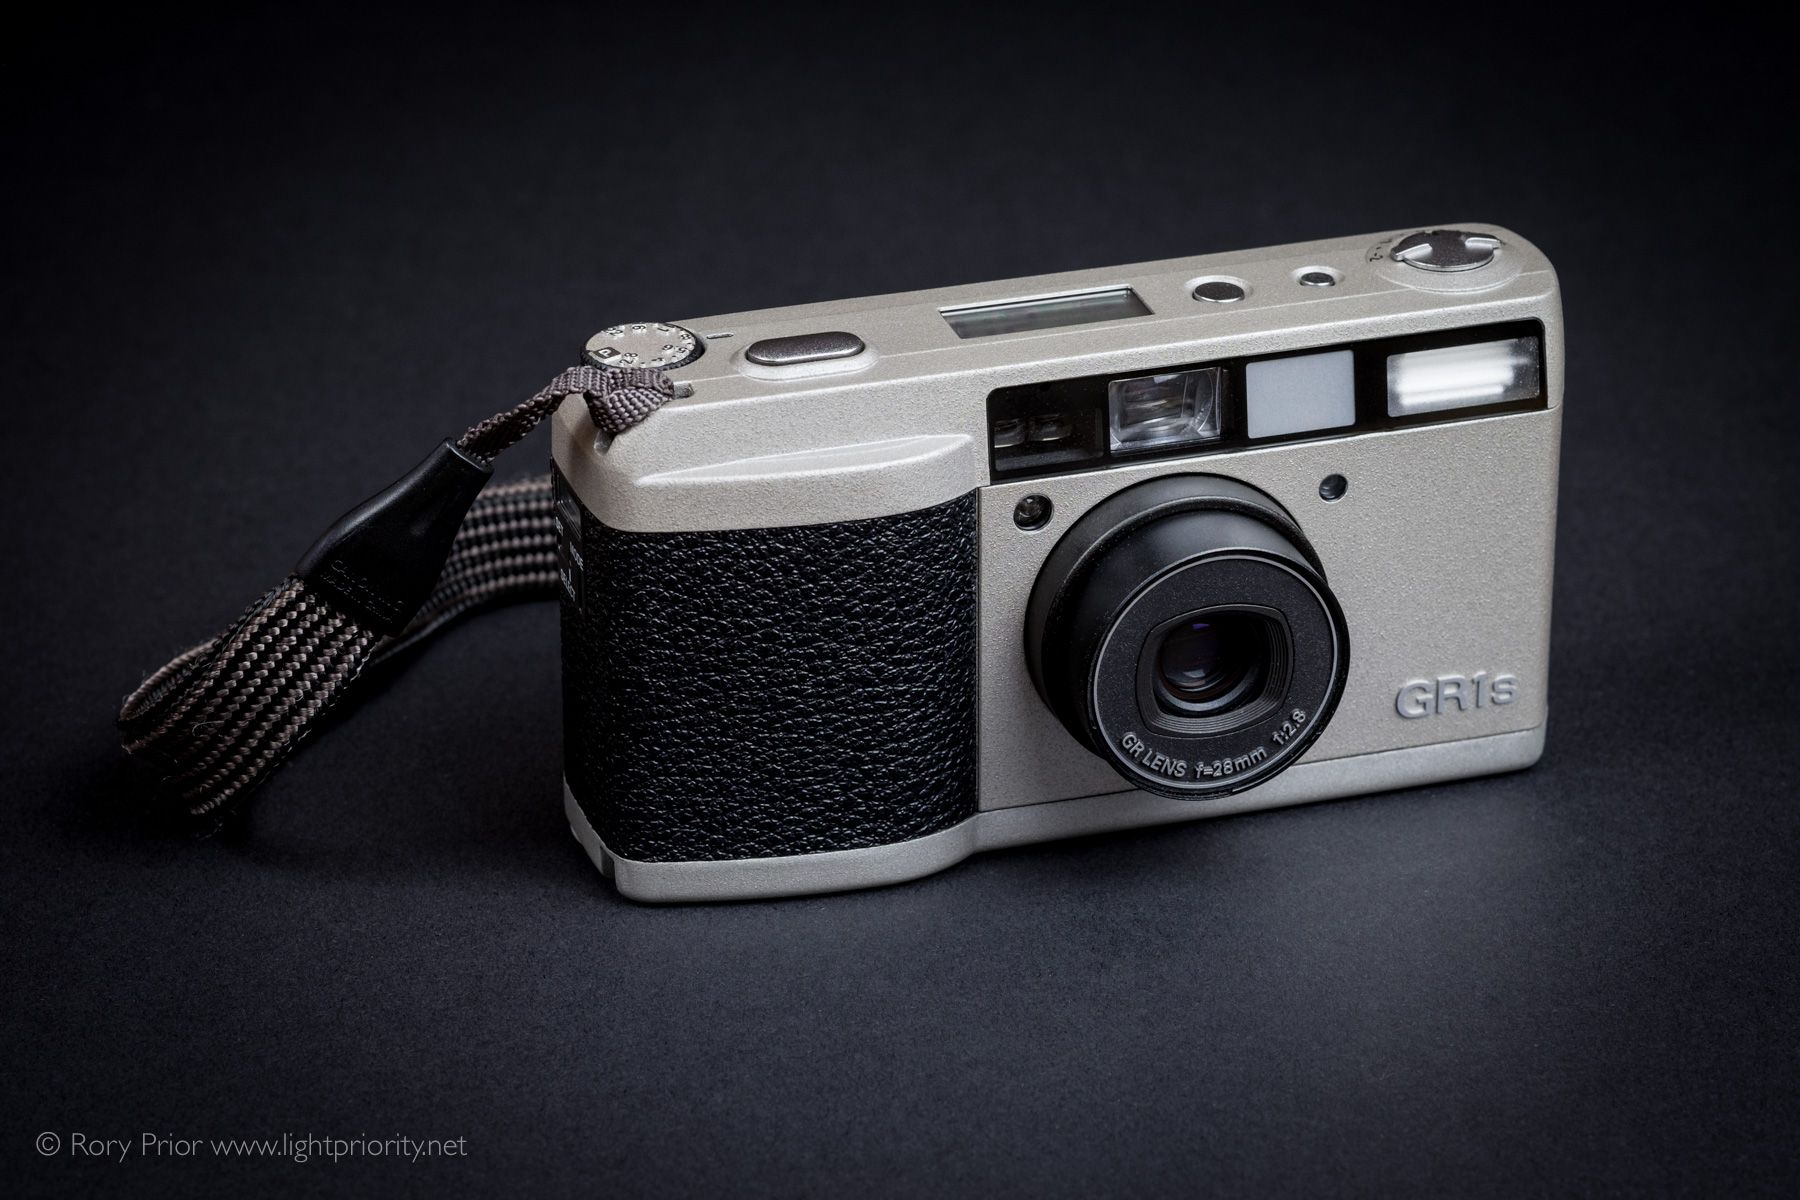
Since getting into film photography I’ve been keen to try as many different film stocks as I can get my hands on. Despite the resurgent popularity of film you never quite know how long any of these are going to be around, so it’s nice to use them while they’re still being freshly produced.
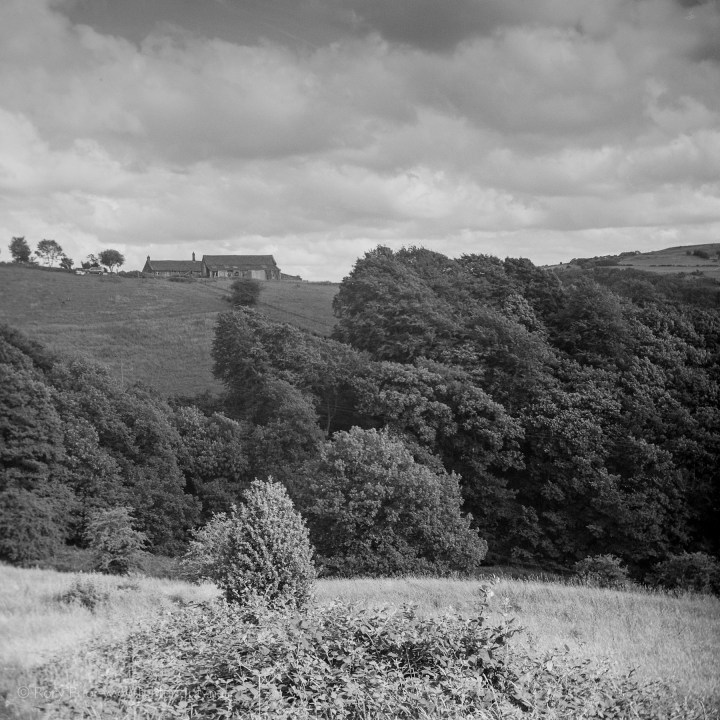
Black & White Films
Ilford PanF+ (ISO 50)

This is the slowest film I’ve shot with to date, rated at just ISO 50. Obviously this is one for bright outdoor shooting or tripod based long exposures. The benefit of such a slow film is the fineness of the grain and the ability to shoot wide apertures without requiring ND filters or very high shutter speeds.
In terms of grain, I’m a bit disappointed with this film. It’s not as clean as the faster Delta 100, Acros 100 or even Rollei Retro 80S. It’s the least grainy of Ilford’s classic emulsions, but if you’re only choosing it for clean and crisp images then you can find better, faster options. On the plus side I’ve found it handles contrasty situations very nicely with good shadow and highlight detail. This film is super quick to develop, requiring a 1:14 dilution of Ilfosol 3 and even then only taking 4 and a half minutes. I’ve read that PanF doesn’t have good keeping qualities once exposed so it’s best to develop as soon as possible after shooting.
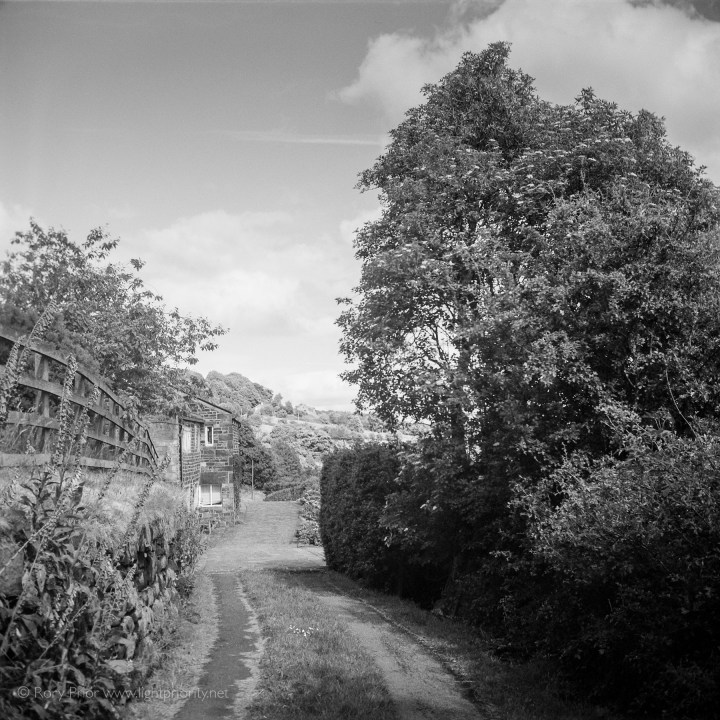
Ilford FP4+ (ISO 125)
I really like this film, although it’s a traditional emulsion, grain is well controlled and fine, albeit still fairly noticeable in clear blue skies. Being a fairly slow film its best for use in bright conditions where it produces lovely tones. I’ve developed it in both Ilford DD-X and Ilfosol 3, which both produce similar results. In the later it’s very quick to develop requiring only a few minutes, which is good if you’re impatient like me! FP4+ tends to be very affordable and is available from £4 a roll.
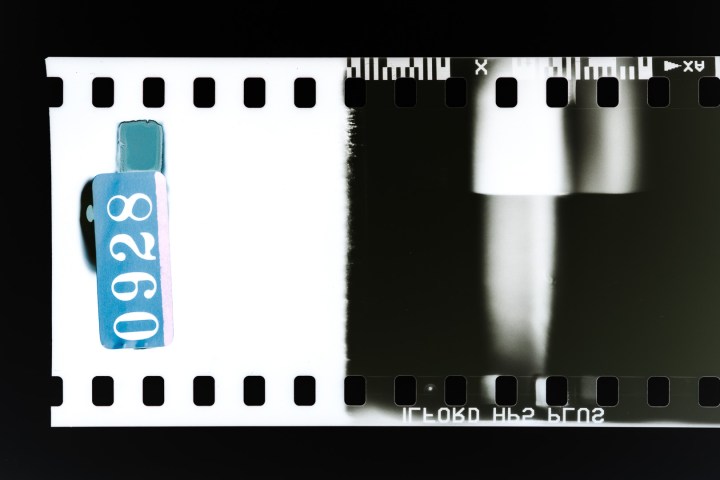
Ilford HP5+ (ISO 400)
This was the first film I shot this year and I found it a bit too grainy for my liking in 35mm. Things are slightly better with the bigger negative sizes of 120 film but it’s still a bit grainier than I’d like, especially compared to Delta 400, even when that’s pushed a stop. HP5 is generally regarded as a fairly forgiving film when it comes to exposure latitude but I’ve not tried pushing or pulling it yet to confirm that. I think I generally prefer T grained films like Acros and Delta, but if you’re more a grain fan then this is probably what you want. I’ve only developed it in Ilford’s DD-X which may not be an ideal match. HP5 is usually around £5 to 6 a roll.
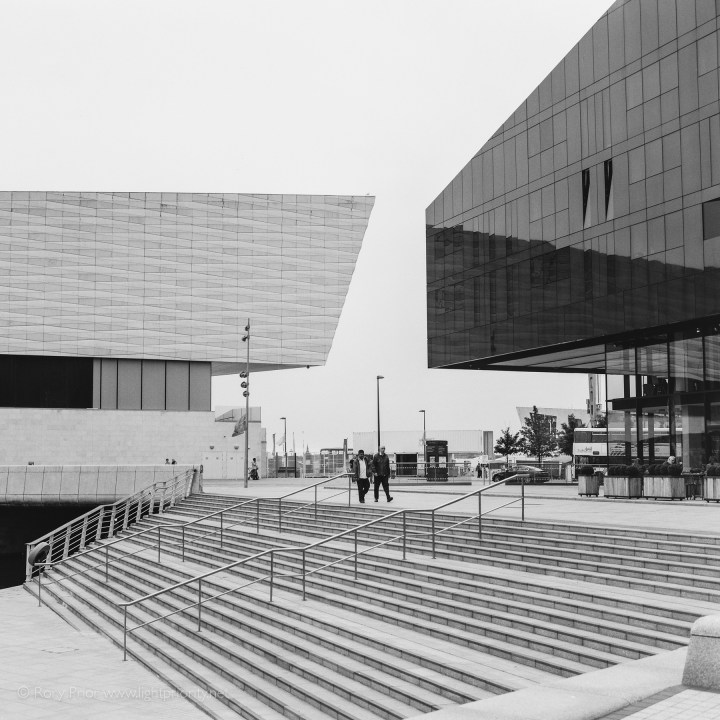
Ilford Delta 100

Delta 100 produces very clean, sharp images with good dynamic range and is practically grainless in appearance. It doesn’t block up shadows as much as Acros, with a broader mid-range. Handily like most Ilford films, you can buy this as individual rolls so it’s cheaper to experiment with. The film develops very well in Ilford’s Ilfosol 3. Delta 100 usually commands a price in the £5 to £6 range.
Ilford Delta 400
Delta 400 is one of my most used films. It’s great at box speed with fine grain and even pushed a stop 800 barely looks any different. It has a fairly flat contrast curve which is ideal for digitising, where you can tweak contrast as you see fit in post.
I’ve developed it in both Ilford DD-X and Ilfosol 3. DD-X is probably its natural match, especially for push processing. Results with Ilfosol 3 diluted to 1+14 have been a bit mixed so far, I’ve developed one roll pushed to 800 which came our great and another at box speed which was unacceptably grainy. I shall try 1+9 and see if that improves things or go back to DD-X. Amazon sell this film at £4.99 in which is about the best price you’ll find it for.
Fuji Neopan Acros 100
This film is stunning and my favourite for black and white photography. The digitised results could be from a modern digital sensor they’re so clean. If you’ve seen this film described as ‘grainless’ and not believed it, well believe it! Ok if you look very hard or try and push shadows or lightlights too much you’ll uncover a bit, but in a well exposed shot it’s amazingly clean.
Another benefit of Acros for those wanting to do long exposures is that it doesn’t suffer from the usual reciprocity failure that many films do. In terms of rendering, Acros tends to block up shadow areas but has huge range in the highlights, this produces some really beautiful results but needs careful exposure. I’ve had good results developing in the rotary processor with both Ilfosol 3 and DD-X. Unfortunately unlike with Ilford’s films, you can only buy this in 5 packs which makes it a little expensive here in the UK at nearly £6 a roll.
Fomapan 100 Classic
Foma is an interesting company producing traditional emulsion films at their plant in the Czech Republic. Fomapan 100 Classic actually reminds me of Ilford’s FP4+ quite a bit in the way it renders, although perhaps with slightly less sharp results overall. Still it’s a rather attractive film and given its low price in Europe, hard to ignore if you’re on a tight budget. It can be found for less than £4 a roll which is an increasing rarity with 120 film.
One thing to watch out for if home developing, is that it’s very flimsy and easy to mark when loading onto a spiral. It’s the first film I’ve handled that when unwound from the take-up spool was very loose – most want to tightly wind up again.
Fomapan 200 Creative

Despite the fairly low speed of ISO 200, this film is rather grainy and characterful making it good for fairly brightly lit scenes you want to give a bit of a gritty edge. That said if you don’t nail the exposure or want to darken a sky in post, things can get very messy. Like Foma’s 100 Classic, it’s a rather flimsy film which can make handling a bit more tricky when home processing. Unlike its cheaper slower sibling, 200 Creative tends to be in the mid £4 to £5 range.
Rollei Retro 80S

Rollei branded films are interesting primarily for their near-infrared sensitivity. In fact they do make purely IR film too, but I’ve not tried it yet. The benefit of having some IR sensitivity means in theory you can cut through haze on hot days which should be a boon for landscape photographers. Unfortunately it’s been a fairly poor summer here in Yorkshire, so I’ve not been able to test this aspect yet. Like the Foma films I’ve tried, Retro 80S is rather thin and while I had no trouble loading it onto my Jobo’s spiral, it’s remained very curly after drying which makes handling a little more fiddly.
In terms of image quality this is a remarkably good film. It’s as clean and grainless looking as Acros or Delta 100 with only a slight hit in speed. I’ve found it really doesn’t like underexposure, quickly losing all detail in dark shadow areas. One image, where I had to shoot what I thought was just 1 stop under to get a hand-holdable shutter speed, barely even registered on the negative!
Overall though I’m amazed at the quality, if you want a cheaper alternative to Acros or Delta 100 it’s a very good option. A roll of 80S will generally set you back around £4.50. The only real downside is that at just ISO 80 you will need brighter light or longer exposures than with comparable ISO 100 films. I’ve found 80S develops very well in Ilford’s Ilfosol 3.
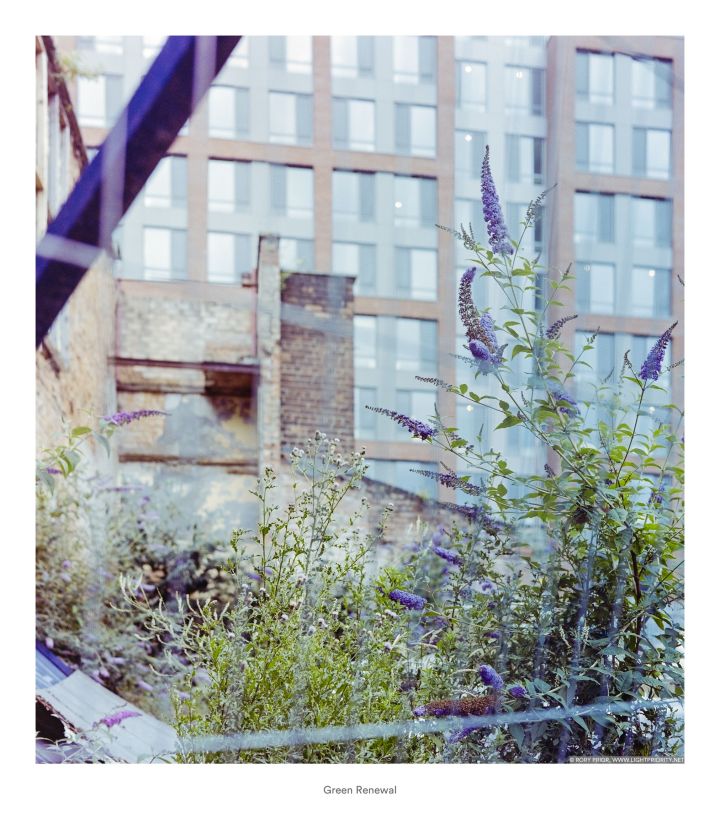
Colour Negative Films
Fuji Pro NS 160

This was the first film I ran through my Bronica and I quickly decided I didn’t like it. I’ve found getting nice colours out of it when digitising to be a real chore, especially compared to every other colour negative film I’ve shot. It’s also expensive (quite a bit more so than Kodak Portra 160) working out at around £6 a roll, so it’s really hard to recommend. On the plus side the grain is fairly fine. It really doesn’t like underexposure and I’ve seen some odd effects at the edges of a few frames that I suspect might be light leaks which I’ve not seen with other films shot in the same camera. So I’m not sure if it’s an artefact from development, me miss-handling it or something else going on. Overall a thumbs down.
Fuji Pro 400H

Unlike NS 160, 400H is actually pretty nice. It digitises well and I’ve not seen any strange ‘light leaks’ or other issues. Overall performance is much the same as Kodak Portra 400. I’ve shot it at box speed and at ISO 200 and had nice results each time. This film handles greens very well so it’s particularly suited to landscape photography. It develops well in Tetenal ColorTec C-41. Available only in packs of 5, the cost per roll is around £6.
Kodak Ektar 100
Kodak advertises this as the finest grained colour negative film and it certainly produces very clean results. Colours tend to be punchy and saturated in bright light, but they can take on blue or purple casts if it’s gloomy or a little underexposed. I’ve found shadow areas in otherwise well exposed sunny scenes can turn very bluish which can require some post-processing to correct. This is certainly a film where you want to carefully expose for the shadows.
I’ve had good results developing Ektar with the two bath Tetenal ColorTec C-41 kit. Amazon has recently had fantastic prices for Kodak 120 films, with five packs selling for £25 or less, that makes this film an absolute bargain at around £5 a roll. More typically it will fetch somewhere between £5.50 and £6 a roll.
Kodak Portra 400

As the name suggests, Kodak wants you to think of this as a portrait film. To date I’ve yet to shoot a single portrait with it, but the colours lend themselves well to landscape and street photography too. Grain is fine and not overly apparent. I’ve shot several rolls of this over exposed by a stop at ISO 200, which has a nice effect on the colours. I’ve seen reports you can overexpose this film by up to 6 stops and still get very useable results. Of course like most film it’s less a fan of being underexposed, but then at ISO 400 you already have good latitude and Kodak produces an ISO 800 version if you need further flexibility. I’ve found this film can be a little bit grainy in the sky, at least developed with Tetenal’s C-41 kit. Pricing is around £5.50 to £6 a roll.
What next?
There are still quite a few films I’d like to try which I’ve not yet had the opportunity to. In particular these are on my list:
- Kodak Portra 160
I want to see if this is a good alternative to Ektar with a little more exposure headroom.
- Kodak TMax (100, 400)
I want to see how this compares to the Ilford’s Delta films.
- Fuji Velvia
This film is legendary so I’m keen to try it sometime.
- Fuji Neopan 400 CN
There’s only two Fuji B&W films so I might as well try them both, this is a C-41 process one.
- Rollei Digibase CN 200
This is an interesting film in that it doesn’t have a colour mask so it should be easier to digitise. After being floored by how good Retro 80S is I’m keen to try more Rollei films.
- Ilford Delta 3200
I’m interested to see what the quality is like from such a fast film, probably one I’ll save for the depths of winter when there isn’t much light!
- Ilford XP2 400
I’ve heard good things about this but I’ve been avoiding using my expensive colour chemistry on B&W films so far as this is another C-41 process one.
- CineStills 800
I’m really keen to try this film as I’ve seen some lovely images taken with it. It can be a bit expensive and hard to find in the UK unfortunately.
If you’re wondering why I’ve not listed Kodak’s Tri-X, it’s because I have shot it in 35mm format and didn’t like it much. I’m not a fan of grainy films generally, especially where equal speed cleaner films exist, and my experience with HP5+ has taught me that moving up a format size doesn’t really change the overall characteristic that much.
![Light Priority - Photography by Rory Prior]](https://lightpriority.net/wp-content/uploads/2020/05/fulllogo.png)


 Finally, I’m working on doing a round up of all the various film types I’ve shot with my thoughts on their rendering, easy of digitising etc. so keep an eye out for that. If you enjoy my writing and images please help support me and the site by purchasing a print from my store
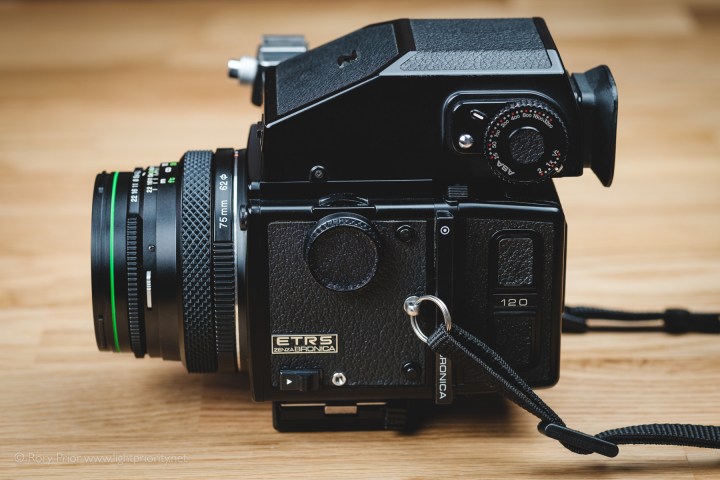


 [exif id=”1266″]
 [exif id=”1268″]
 [exif id=”1277″]
 [exif id=”1269″]
 [exif id=”1270″]
 [exif id=”1271″]
 [exif id=”1272″]
 [exif id=”1209″]
 [exif id=”1219″]
 [exif id=”1215″]
 [exif id=”1211″]
 [exif id=”1213″]
 [exif id=”1214″]
 [exif id=”1220″]
 [exif id=”1217″]
 [exif id=”1221″]
 [exif id=”1218″]
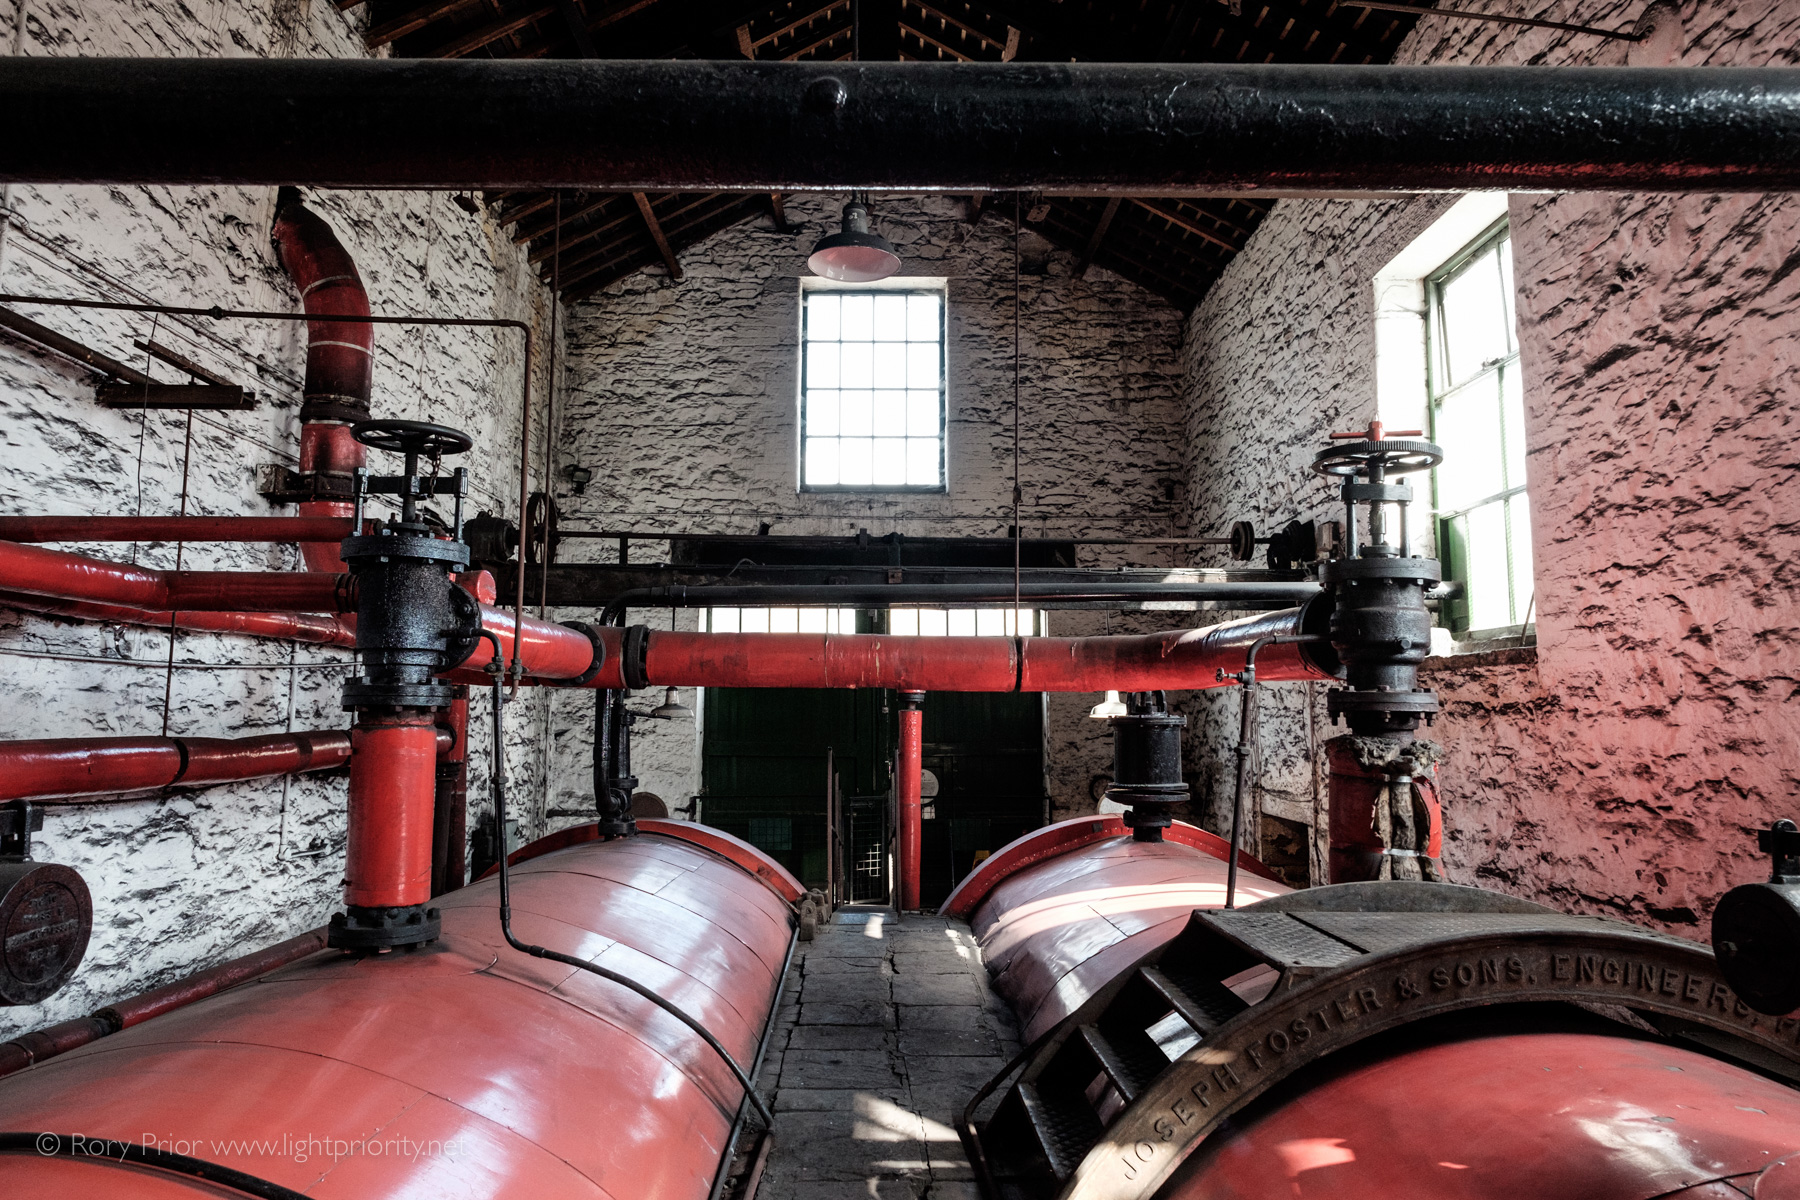 [exif id=”1222″]

 [exif id=”1008″]
 [exif id=”1009″]
 [exif id=”1007″]
 [exif id=”1006″]
 [exif id=”1005″]
 [exif id=”1010″]
 [exif id=”1011″]
 [exif id=”1012″]
 [exif id=”1014″]
 [exif id=”1016″]
 [exif id=”1017″]
 [exif id=”1018″]
 [exif id=”1020″]
 [exif id=”1022″]

